
Publish your first site
Put your store online with the Publish button: connect Cloudflare the first time, follow the progress box, and open your live store.
Publishing puts your store on the internet. Until you publish, your site is a draft that only you can see in Payly. When you publish, Payly deploys your pages, images and products to your Cloudflare account, and customers can visit your store at its web address.
Before you start
- Build your main pages and add your products. Your launch checklist lists what to check first.
- Have a free Cloudflare account ready, or be ready to create one. Payly asks you to connect it the first time you publish. See Connect your Cloudflare account.
- Connect Stripe or PayPal to take payments. You can publish without one, but your store cannot accept payments until you connect one.
Publish from the editor
- In your site dashboard, click Edit site.
- Click Publish at the top right of the editor.

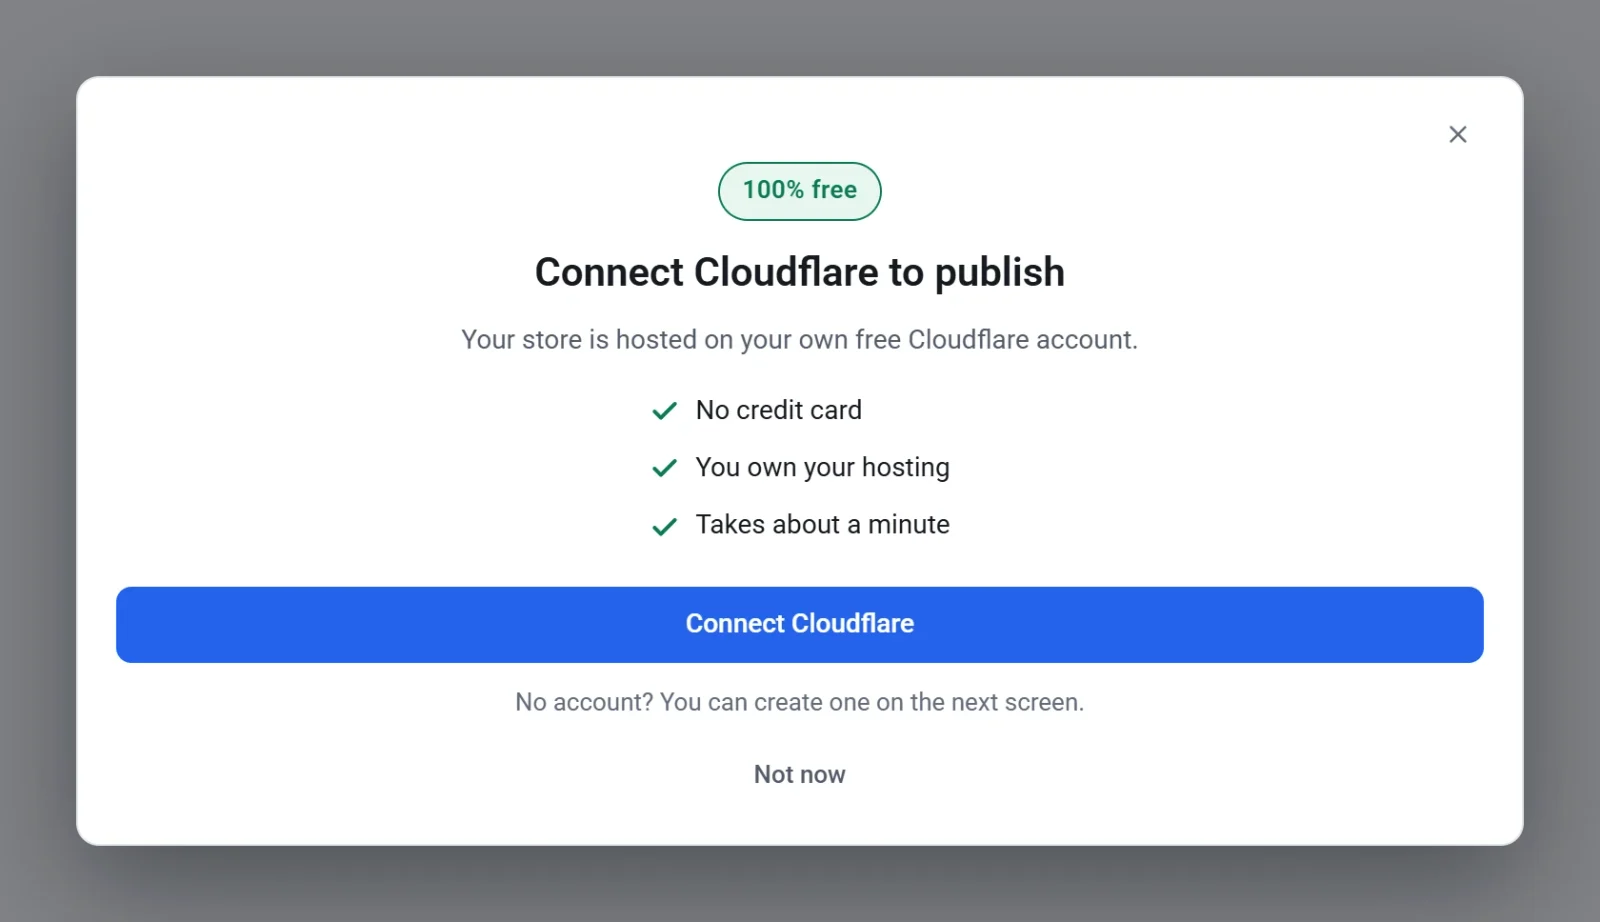
- If Payly asks you to connect Cloudflare, click Connect Cloudflare, sign in on Cloudflare's own screen, and return to Payly. Publishing carries on by itself once you are connected. Click Not now to stop, and nothing is published.
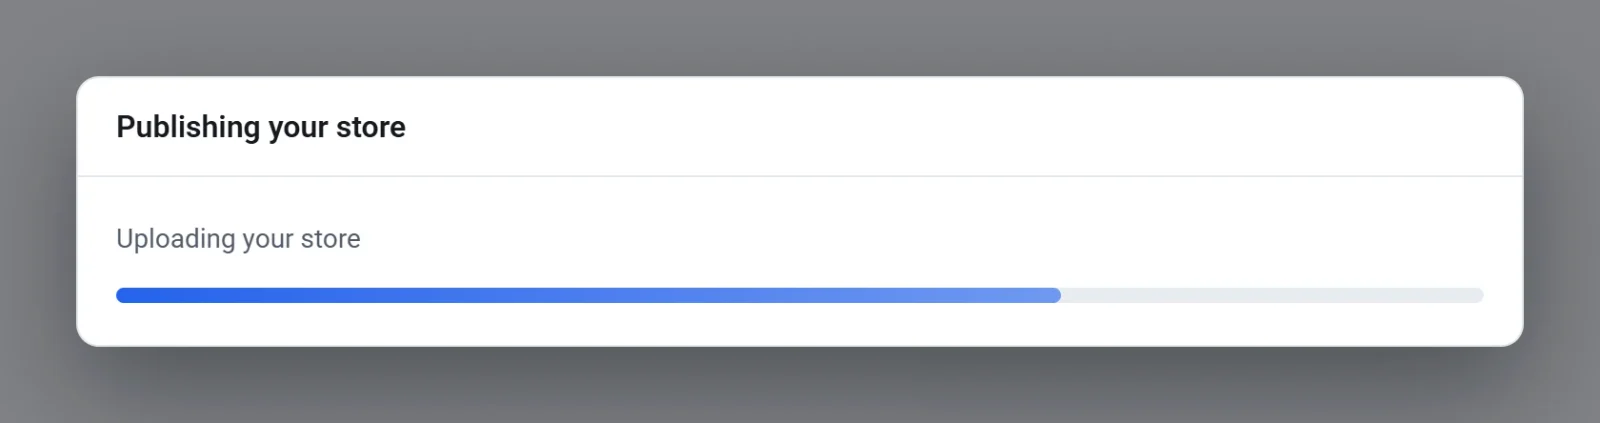
- Wait while Payly publishes. The Publishing your store box shows each step in turn, from saving your changes to uploading your store. You cannot close it until it finishes.
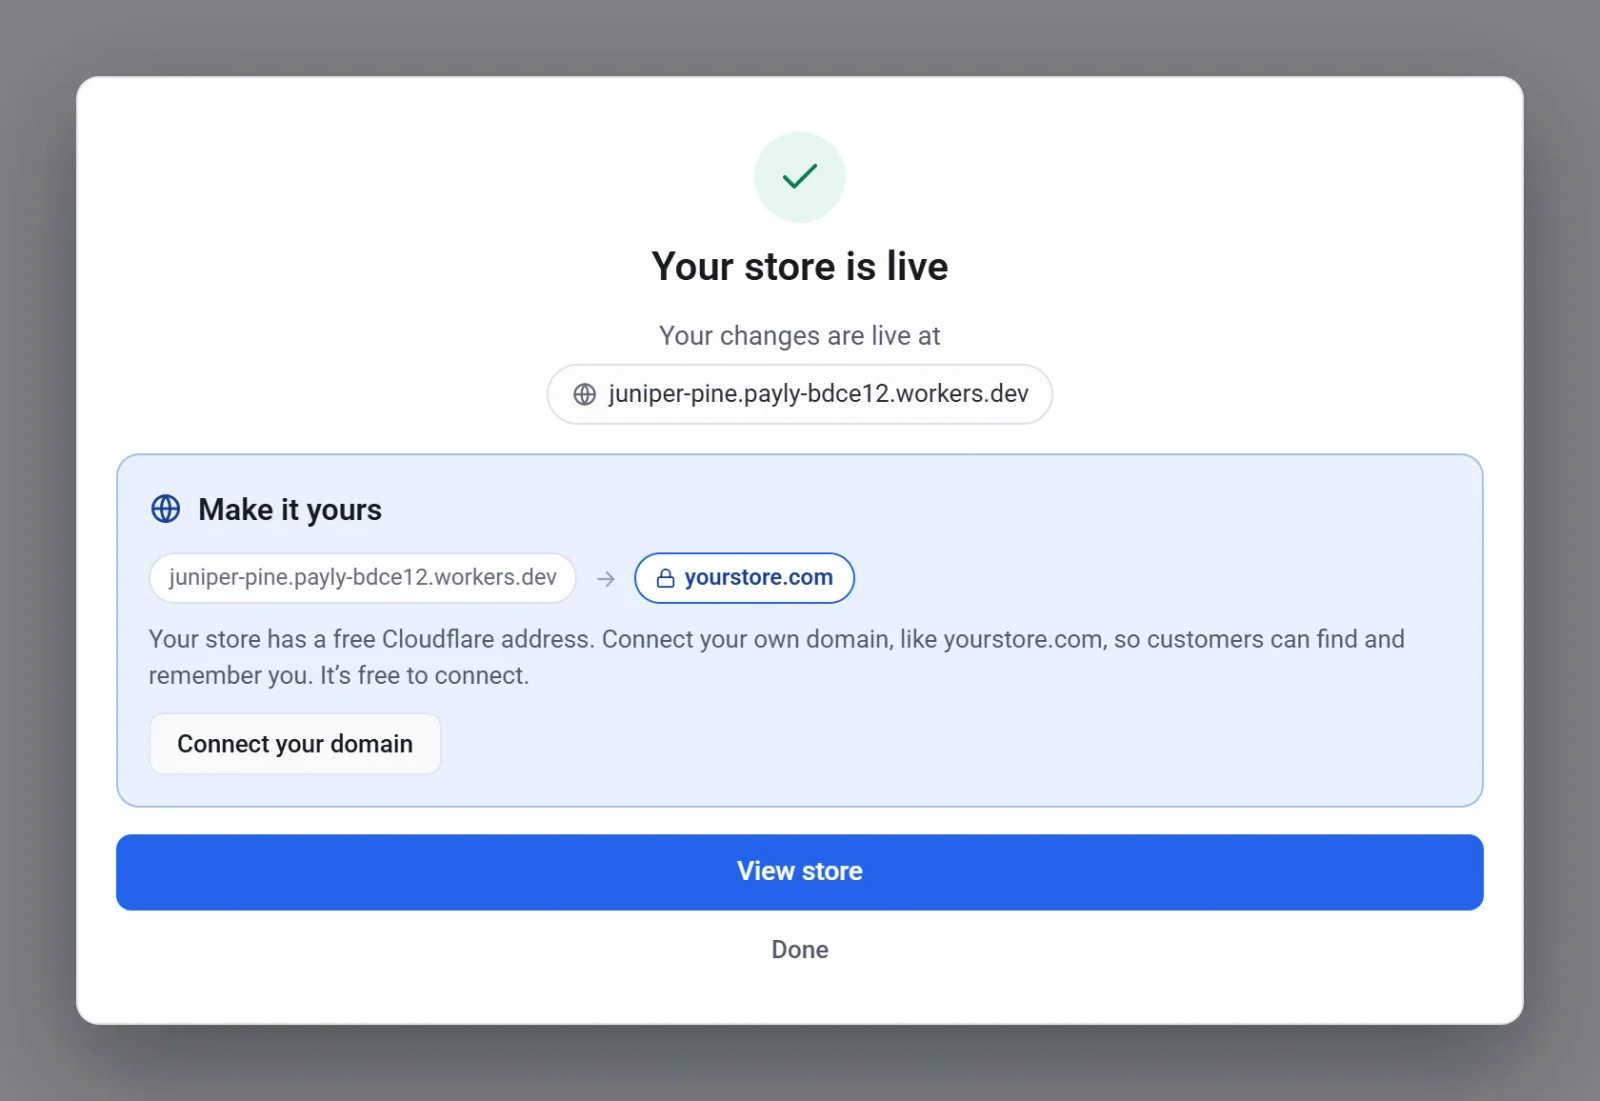
- When the box says Your store is live, click View store to open it, or click Done. If your store doesn't have its own domain yet, the box also shows Make it yours. Click Connect your domain to add one.
It can take up to a minute before changes appear on your live website, so a fresh visit may show the old page for a moment.
Publish from Dashboard & Analytics
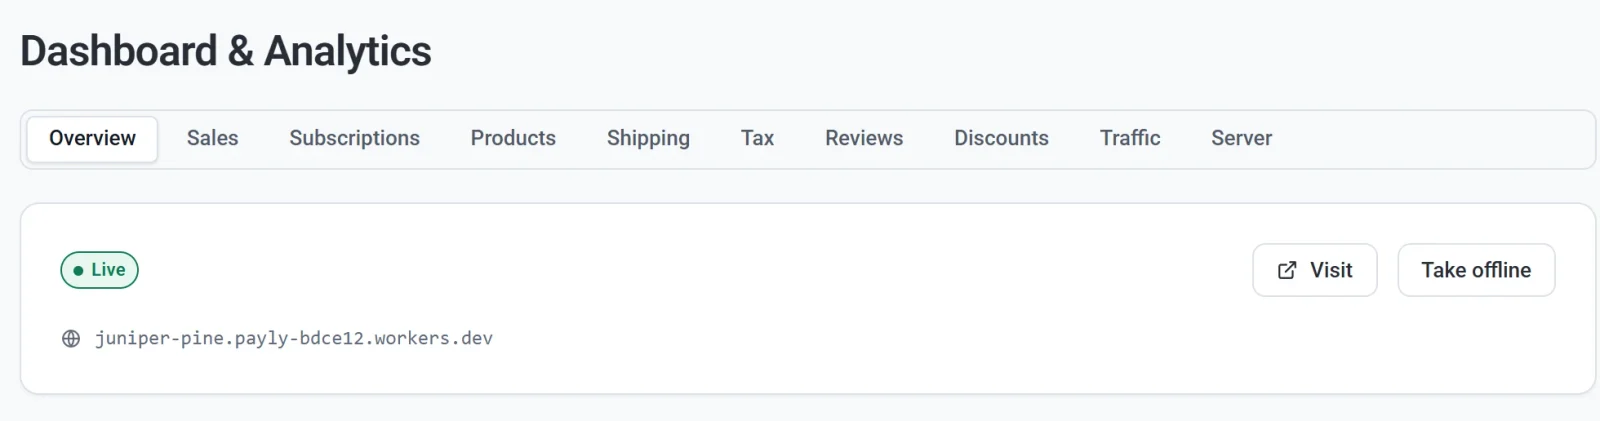
You can also publish from your site dashboard. Click Dashboard & Analytics, then Publish on the Overview tab. The steps are the same. Once your site is live, the tab shows a Live badge, your store address, a Visit button to open the store, and a Take offline button.
Publish again after changes
Changes you make in the editor are saved as you work, but your store does not show them until you publish again. The editor tells you where things stand: Saved, not published means there are changes that are not live yet, and Saved and published means your store shows everything you see. To update your store, click Publish again. See Publish, update and take your site offline.
If publishing does not finish
A box that says Publishing did not finish explains what went wrong. Click Close, then go to Settings > Hosting and check that Cloudflare shows Connected. If it does not, or if the store looks wrong, click Repair or connect again, then publish once more. See Repair or reconnect hosting.