
Customize your header and footer
Change your logo, menu layout and footer, and show or hide the header and footer, which are shared by every page of your store.
The header and the footer are the two parts of your store that appear on every page. The header holds your logo and menu, and the footer usually holds a short description, link columns and a copyright line. You edit each one once, in the editor, on any page, and the change shows up everywhere.
Find the header and footer
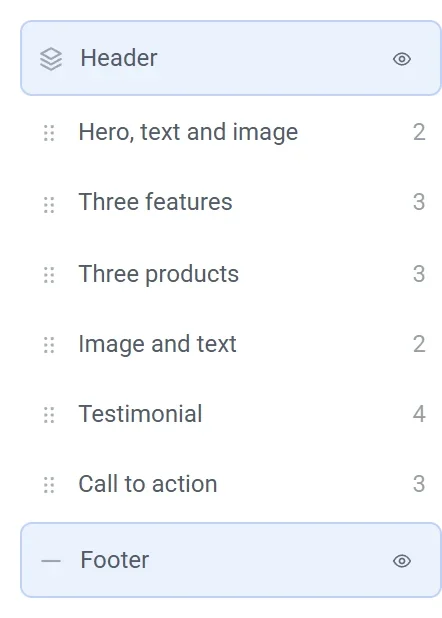
In the editor, the header is the first thing on every page and the footer is the last. Both are also listed in the Structure list at the bottom of the left panel, with an eye icon at the right. Settings for either one carry a Global badge, as a reminder that editing it changes every page.
Change your logo
- Click the menu in the header. The settings panel on the right shows Navigation.
- Click Logo to open that group.
- Click Upload image to add a logo, or Browse uploads to pick one you already added. See Add images and use the media library.
- Drag the Logo height slider until the logo is the size you want.
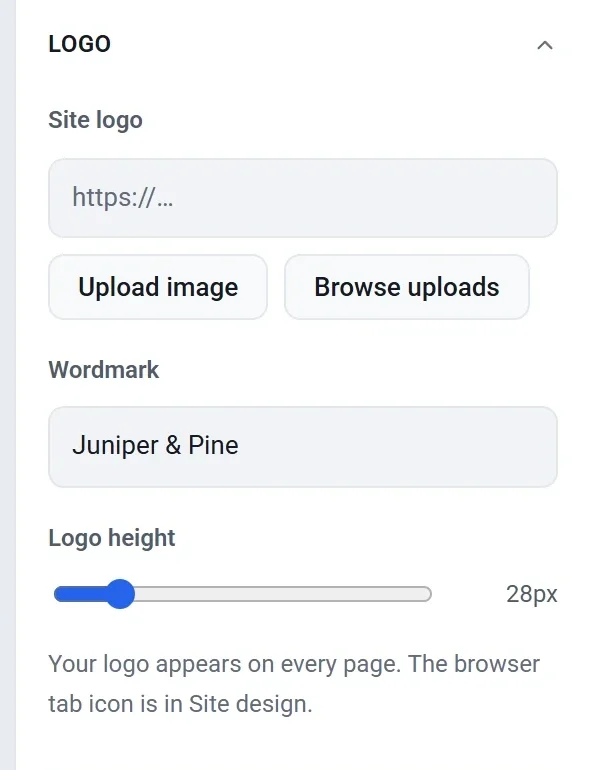
The Wordmark is your store name written as text. Shoppers see it when you have not added a logo image, and it also serves as the logo's description for people who cannot see the picture. The small icon in a browser tab is a separate setting under Site design.
Change how the menu is laid out
- With the header menu selected, open the Menu group.
- Choose a Layout: Logo left, links right, Centered or Stacked.

- Turn Show cart button on or off. The account icon is always shown, because shoppers use it to sign in and see their orders.
The same group holds the menu's Typeface and its list of links. See Edit your menu links. To give the menu a colored bar, open Appearance and choose a Background color.
Style the whole header or footer
The menu is one block inside the header. The header itself, and the footer, are sections, and a section has its own settings.
- In the Structure list, click Header or Footer.
- Open the General group.
- Change what you need: Background color, Background image, Text color, Minimum height, Vertical padding, Grid gap or Content width.
Edit the footer
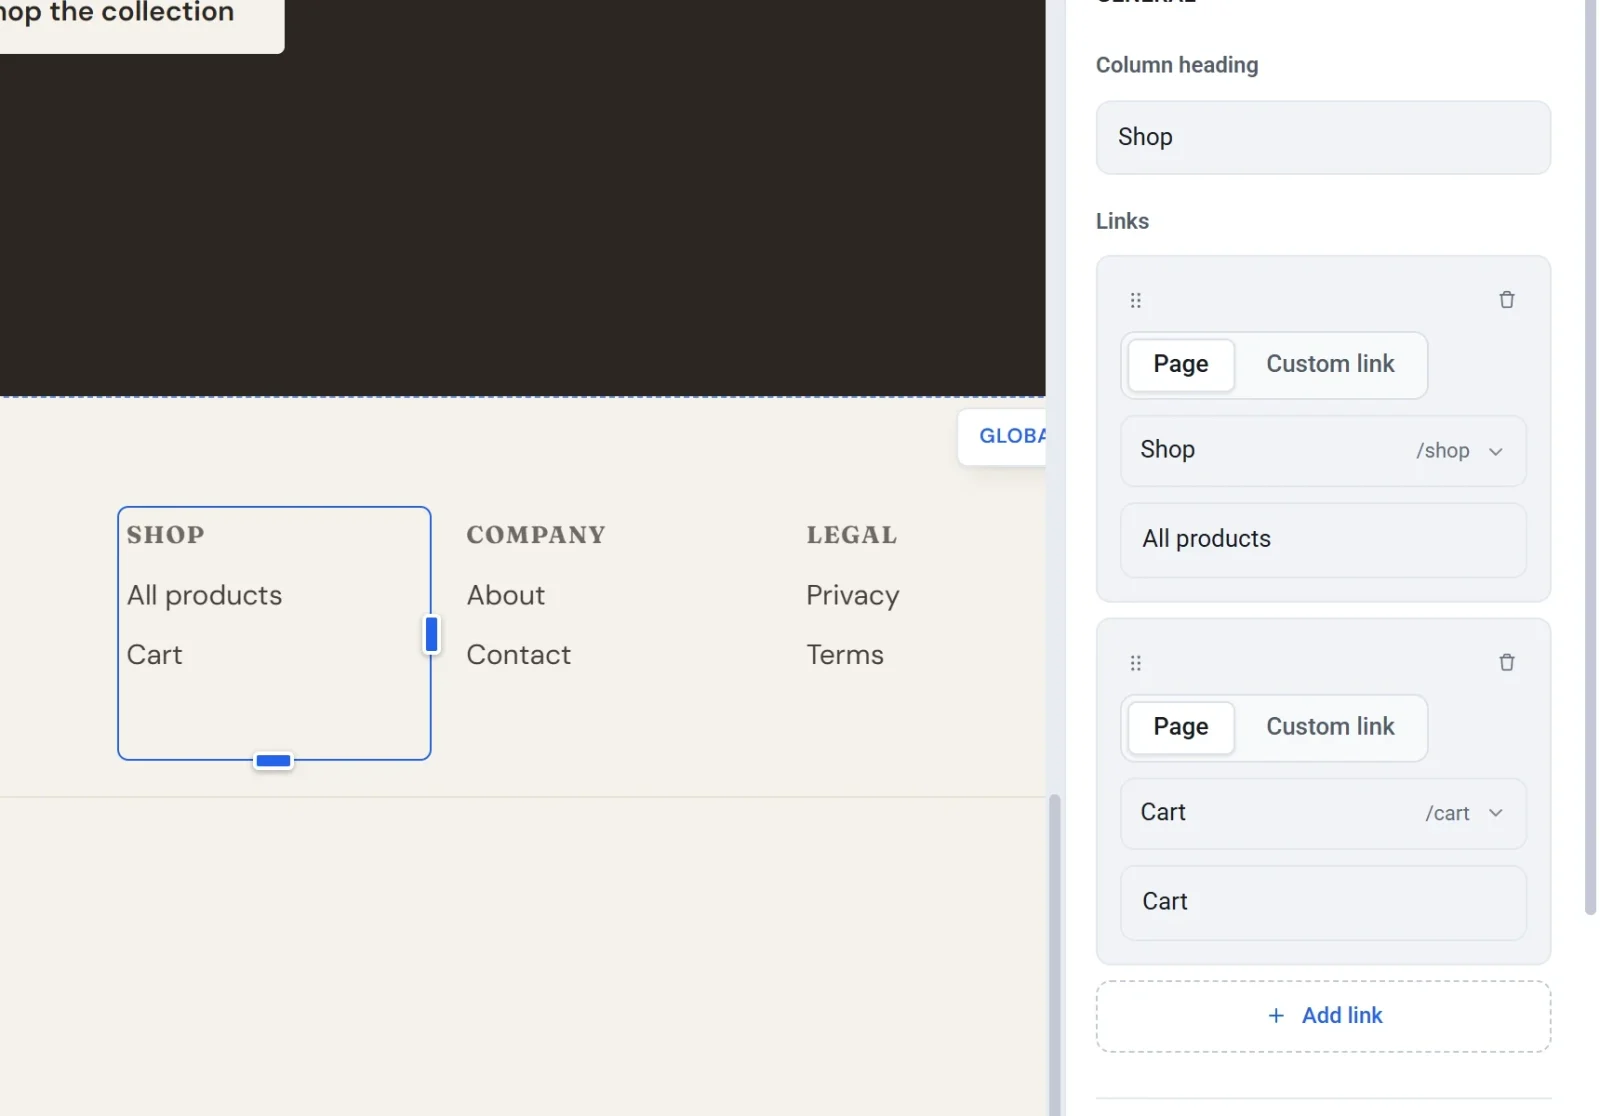
A footer is built from blocks, like any other section. Click a block in it to edit it, drag a new one in from the left panel, or drag one to a new spot. A footer link column is a Link list block: give it a Column heading and add its links, which work exactly like menu links.
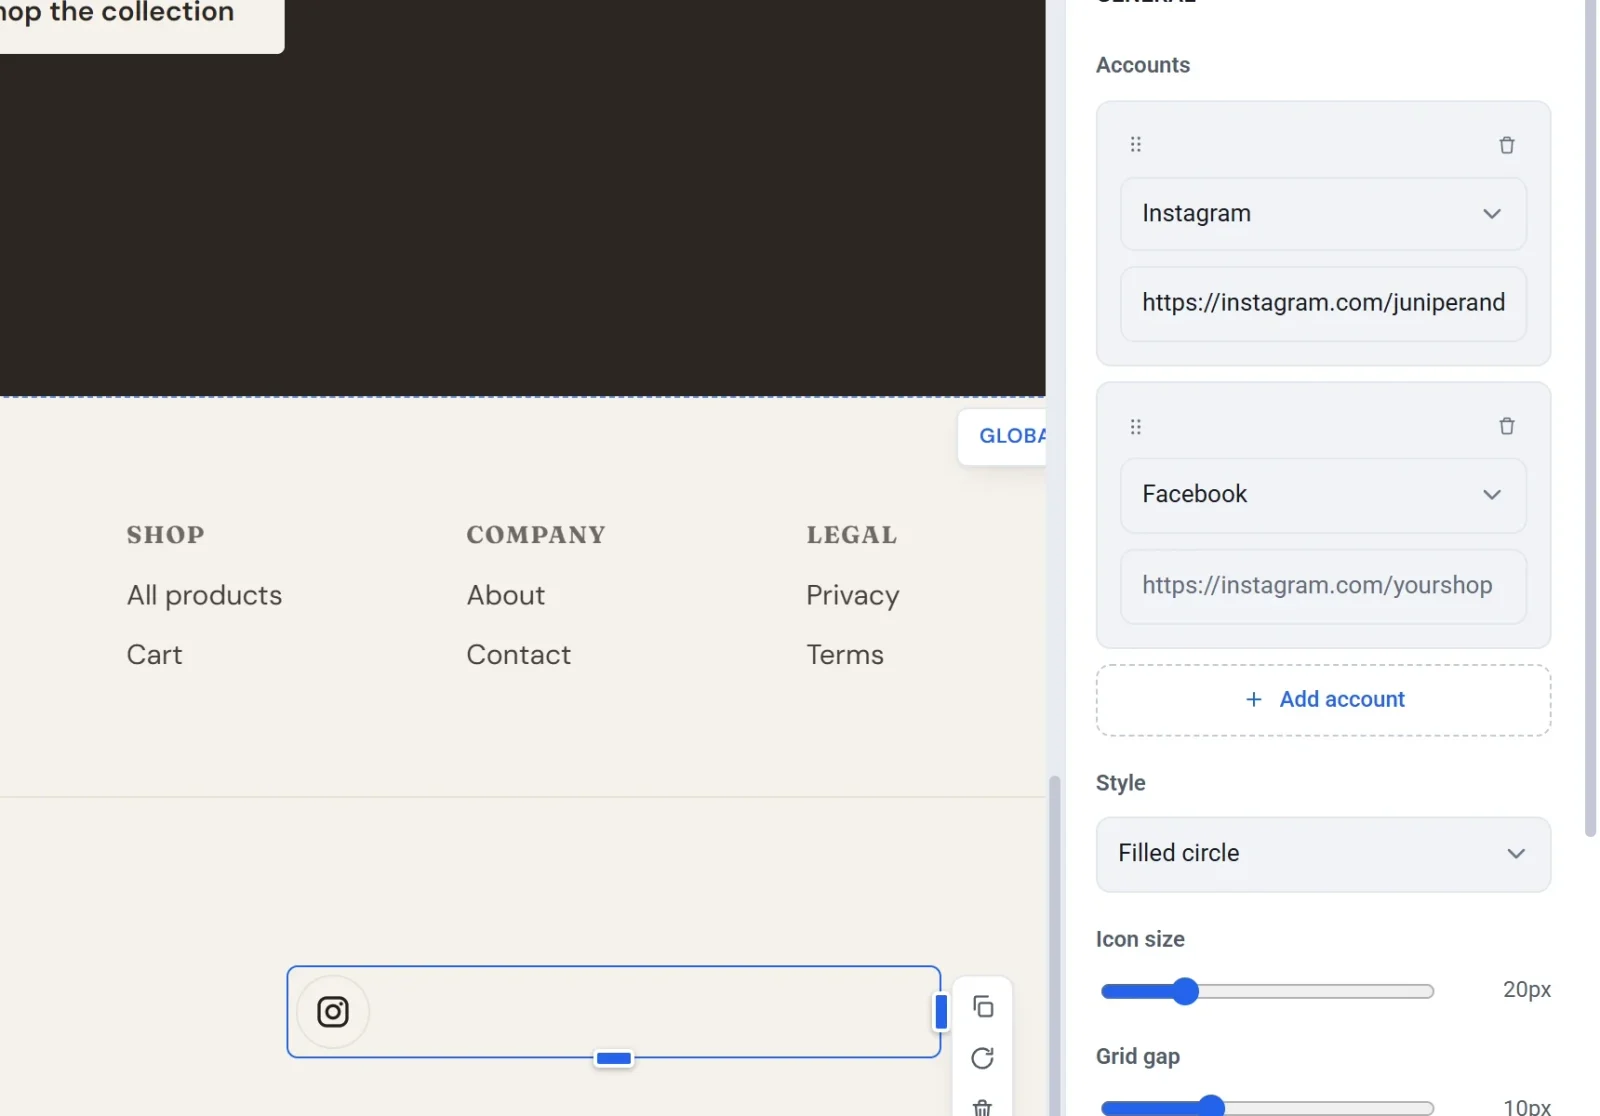
To add your social media accounts, drag a Social links block into the footer, then enter the address of each account under Accounts. An account with no address is left out.
Hide the header or footer
Click the eye icon on the Header or Footer row in the Structure list. The row is crossed out and that part disappears from every page. Click the icon again to bring it back. You cannot delete them or move them, only hide them.
Important: If you hide the header, shoppers lose the menu, the account icon and the cart button on every page.
Your checkout page is the exception to the rule. It shows only your logo by default, so shoppers stay focused on their order. To bring the menu or footer back there, select the Checkout block on that page and turn on Show the site menu or Show the footer.
Changes are saved as you make them. They go live on your store the next time you publish.