
Add a product
Create a product with a name, price, photos and description, give it categories and tags, and put it on sale in your store.
A product is anything you sell: a mug, a class, a download or a membership. You create each one in your site dashboard, and your shop, product pages and cart all read from that one list.
Before you start
- Check your store currency, because every price you enter uses it. See Set your store currency.
- To upload photos from your computer, connect Cloudflare first, because your photos are stored in your Cloudflare account. If it is not connected, Payly asks you to connect it when you upload your first photo.
Add a product
- In your site dashboard, click Products, then click Add Product.
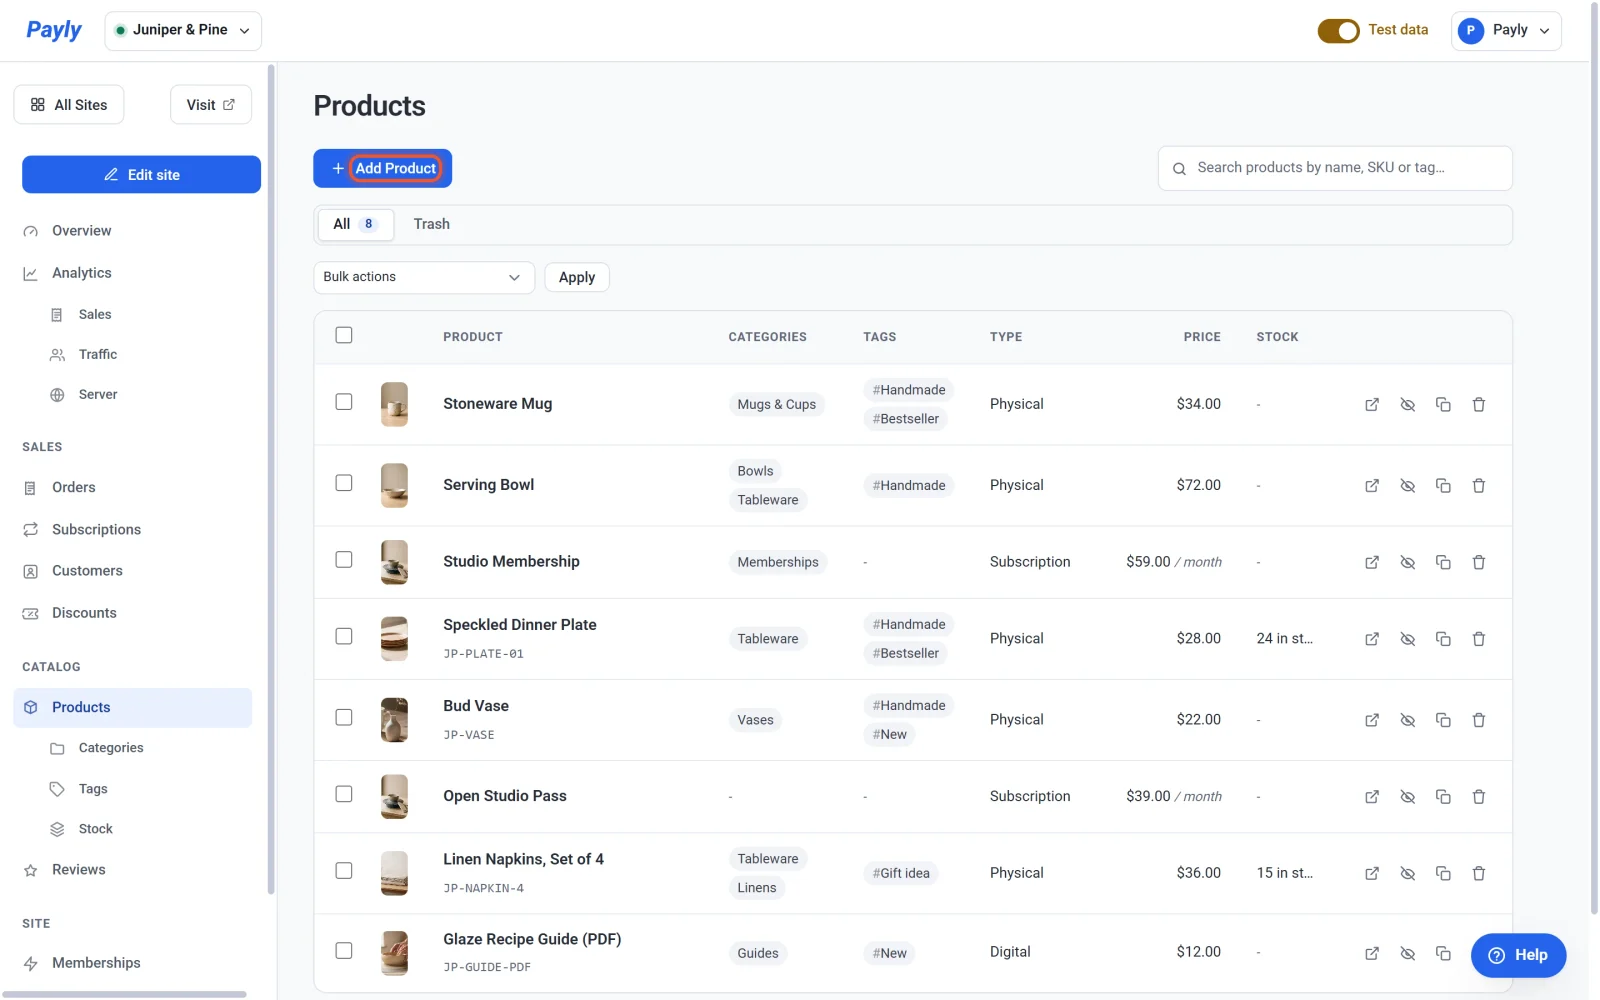
- Under Product type, choose Physical product for something you ship, Digital / downloadable product for a file, or Subscription / membership product for something customers pay for again and again. The fields below change to fit. See Sell digital downloads and Sell a subscription product.
- Enter the Product name. It is the only required field. Payly also uses it to make the product's web address, such as
/product/speckled-dinner-plate. - Enter a Description.
- Enter the Price, for example
28.00. To show a sale, enter a higher amount in Compare-at price, and shoppers see it struck through next to the real price. - Add photos under Images. Click Upload image to choose a file from your computer, or Browse uploads to pick a photo you already uploaded (see Add images and use the media library). You can also paste the address of an image. The first image is the main one: click the up arrow beside another image to make it first, or the × to remove one.
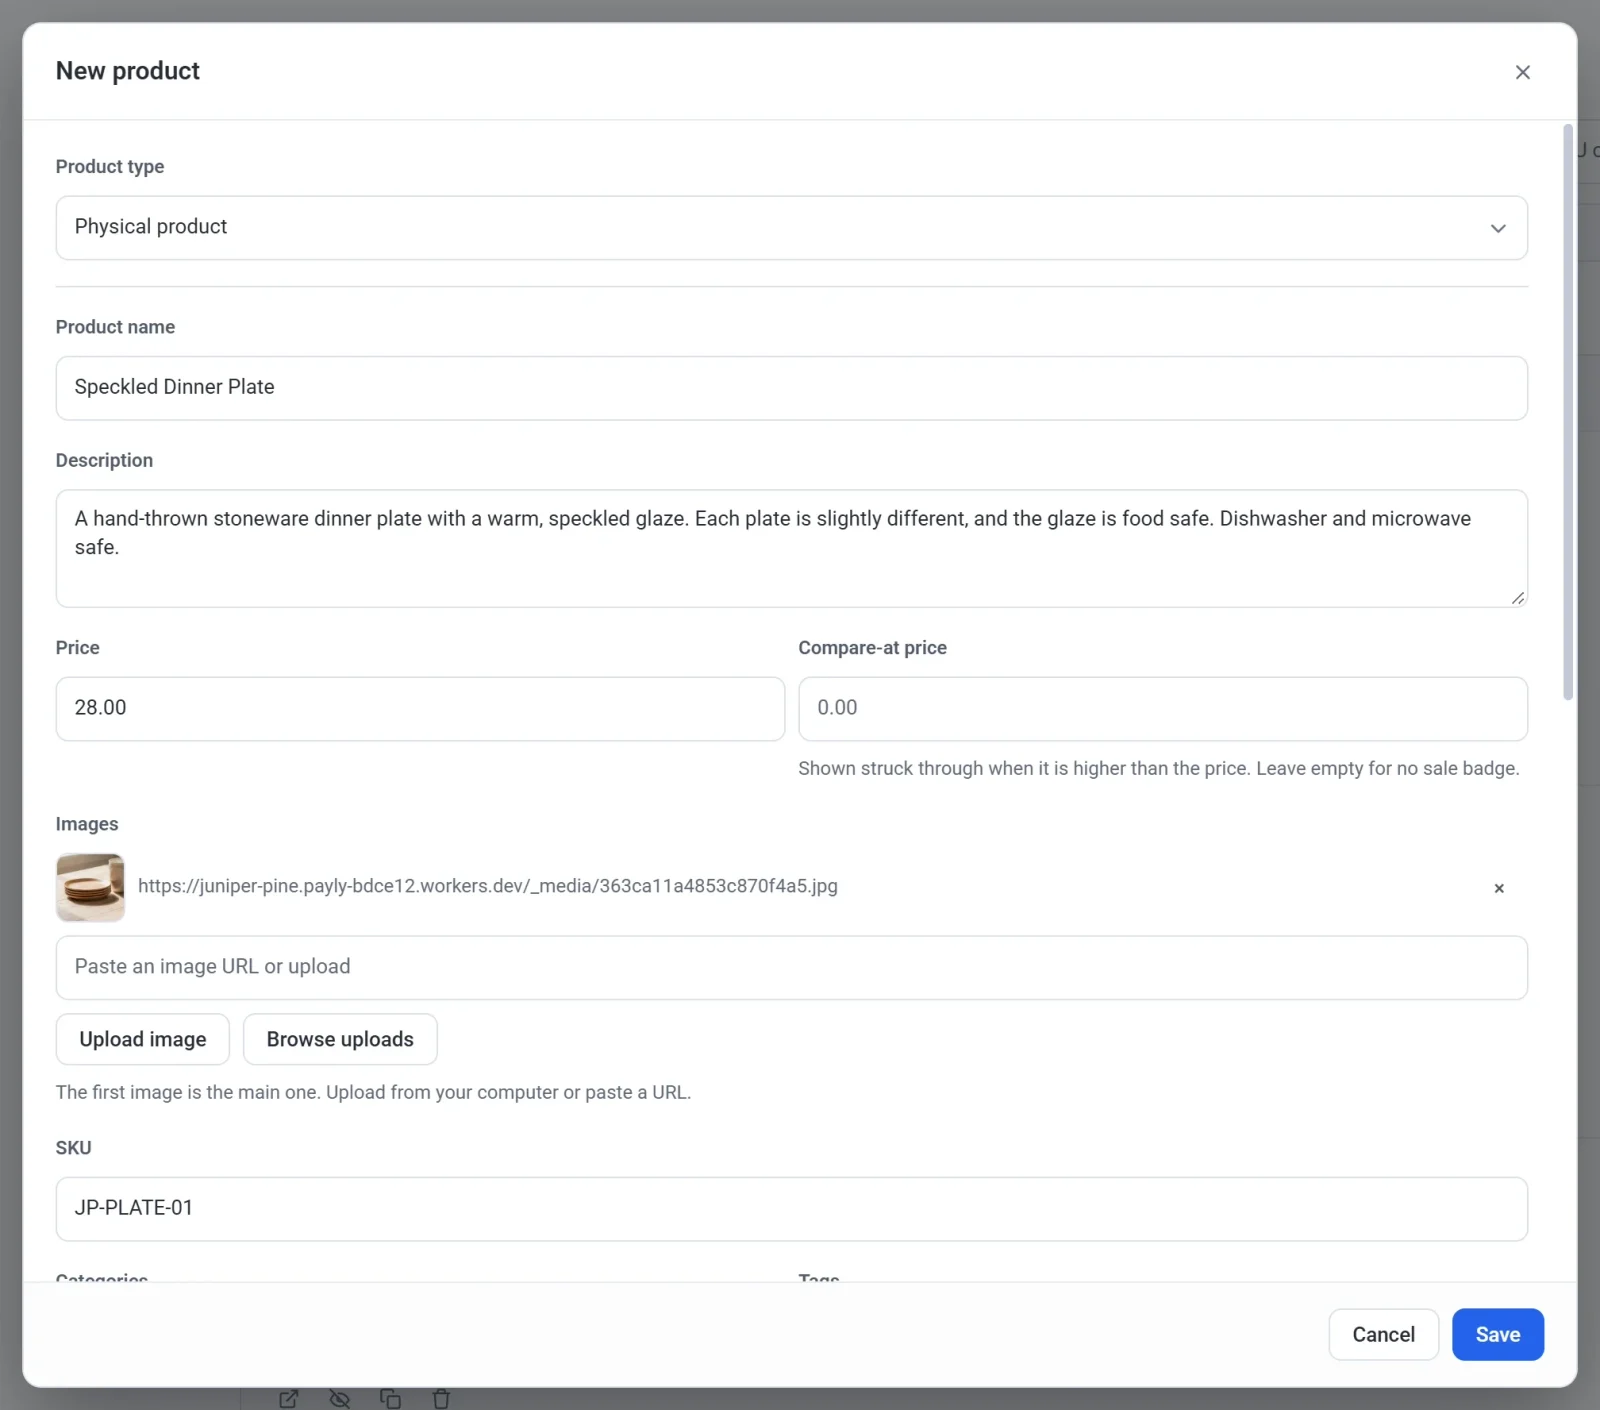
- Optionally enter a SKU, your own code for the product. You can search for it later.
- Tick the Categories and Tags that fit. To create a new one, type its name in the box under the list and press Enter.
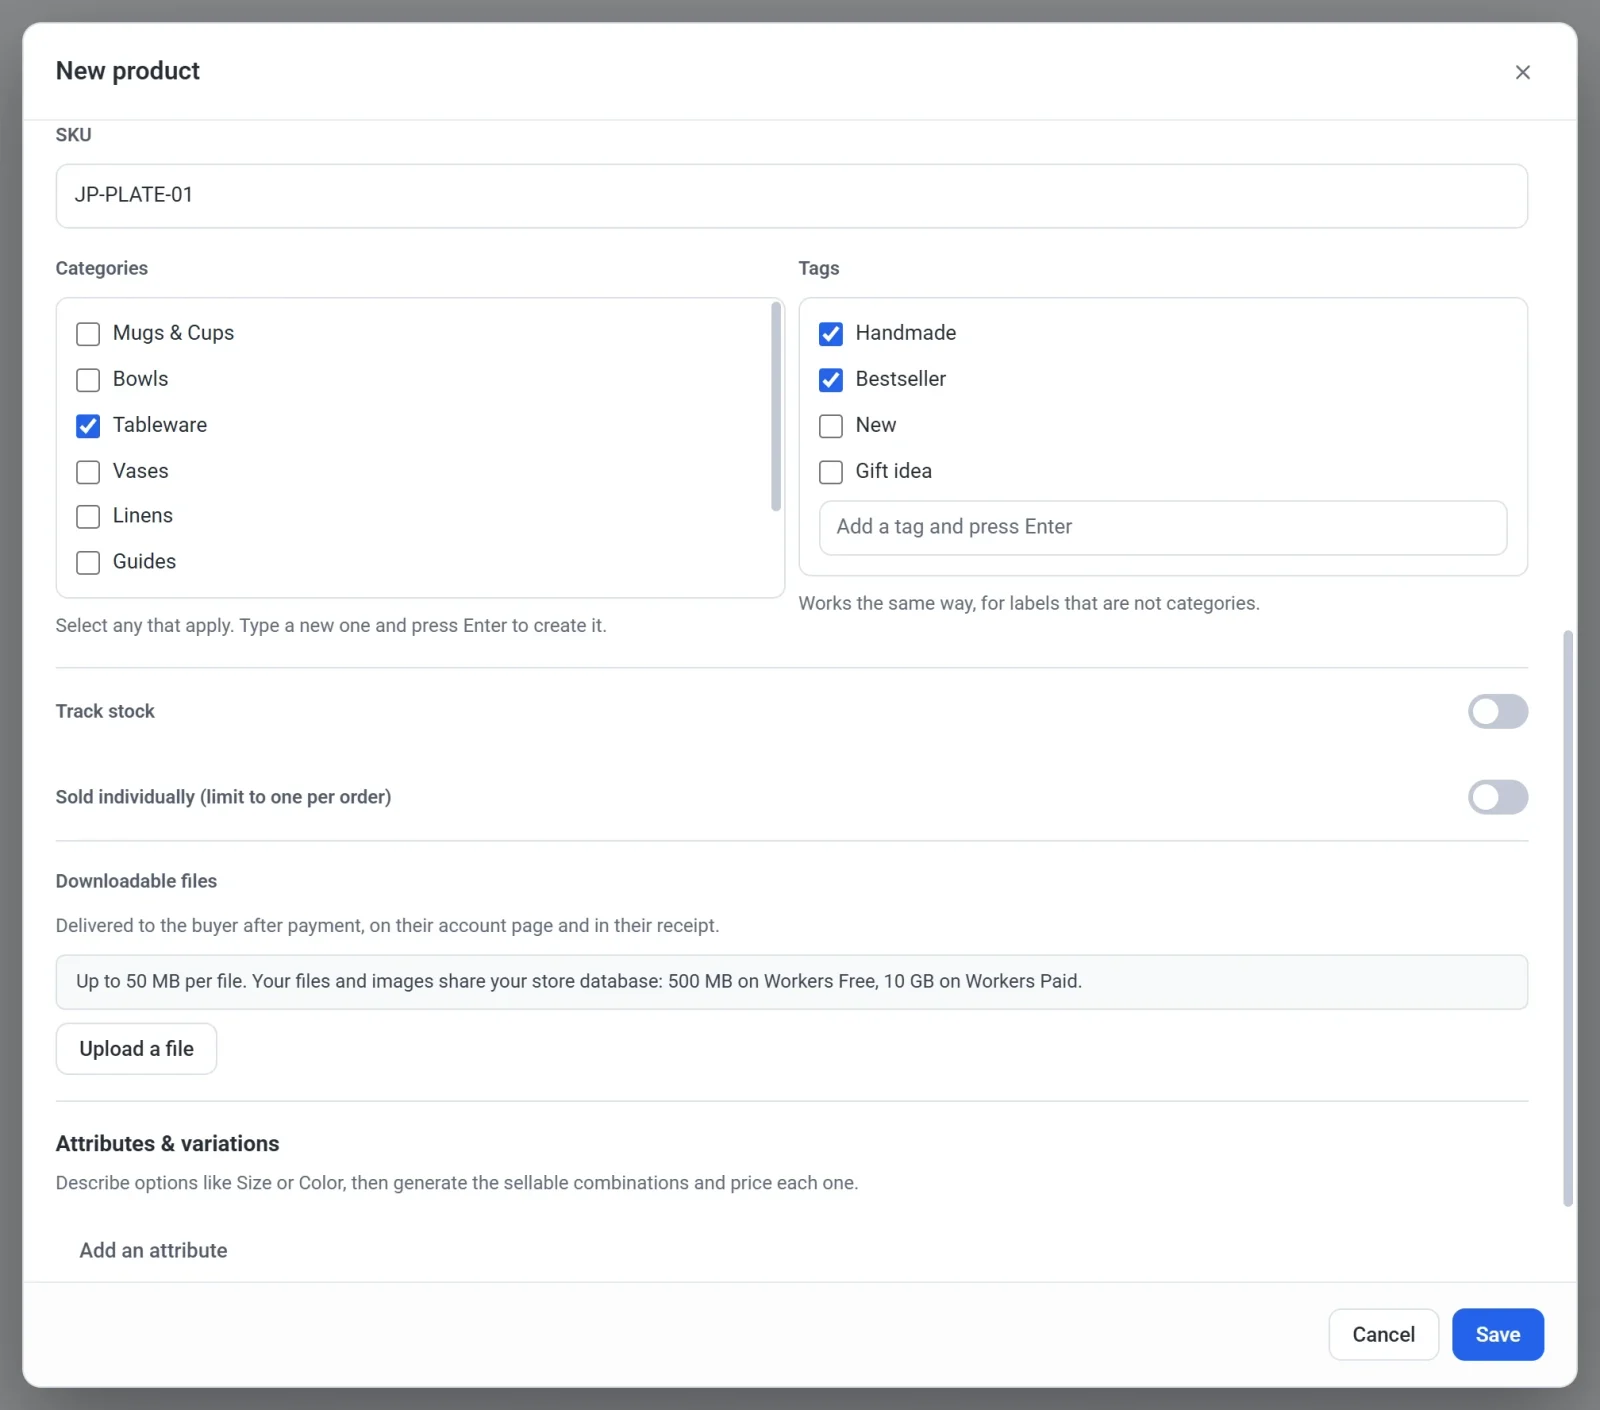
- Turn on Track stock to count how many you have left (see Track and manage stock), or use Attributes & variations to sell sizes, colors or other options (see Offer sizes, colors and other options).
- Leave Hide from the shop off to put the product on sale. Turn it on to save it as a draft that shoppers cannot see.
- Click Save. If the name is empty, Payly shows "Enter a product name" and does not save.
Format the description
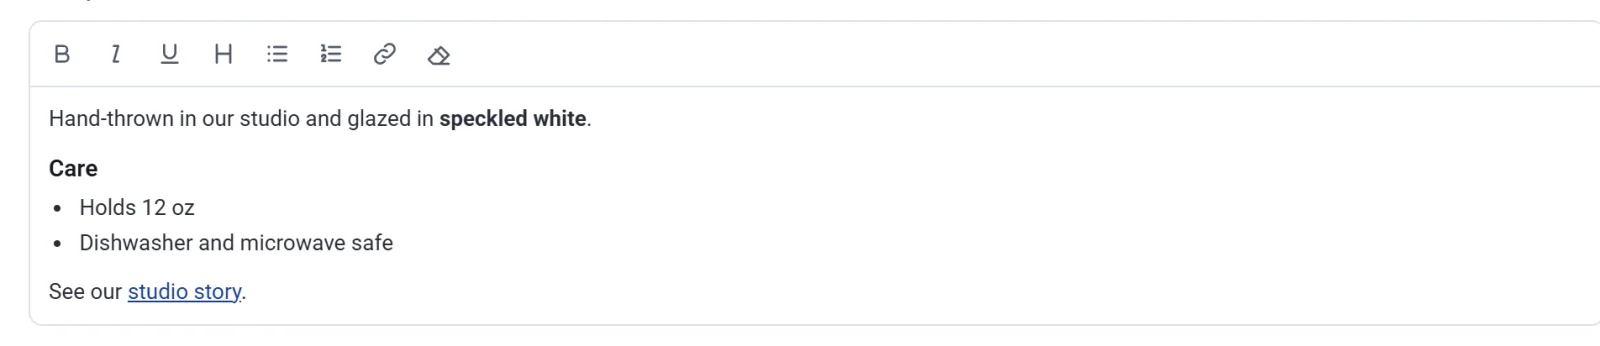
The description box has a toolbar: Bold, Italic, Underline, Heading, Bulleted list, Numbered list, Link and Clear formatting. Your product page shows the description exactly as you format it. Text you paste from another website keeps its bold, lists and links, and nothing else.
See the product on your store
If your site is already published, a saved product is on your live store straight away. It appears in every product grid, such as the one on your Shop page, and gets its own page. You do not need to publish again after you add a product or change its price, photos, description, stock or status. Publishing is for changes to your pages and design. If you have not published your site yet, your products go live the first time you do. See How product pages work.
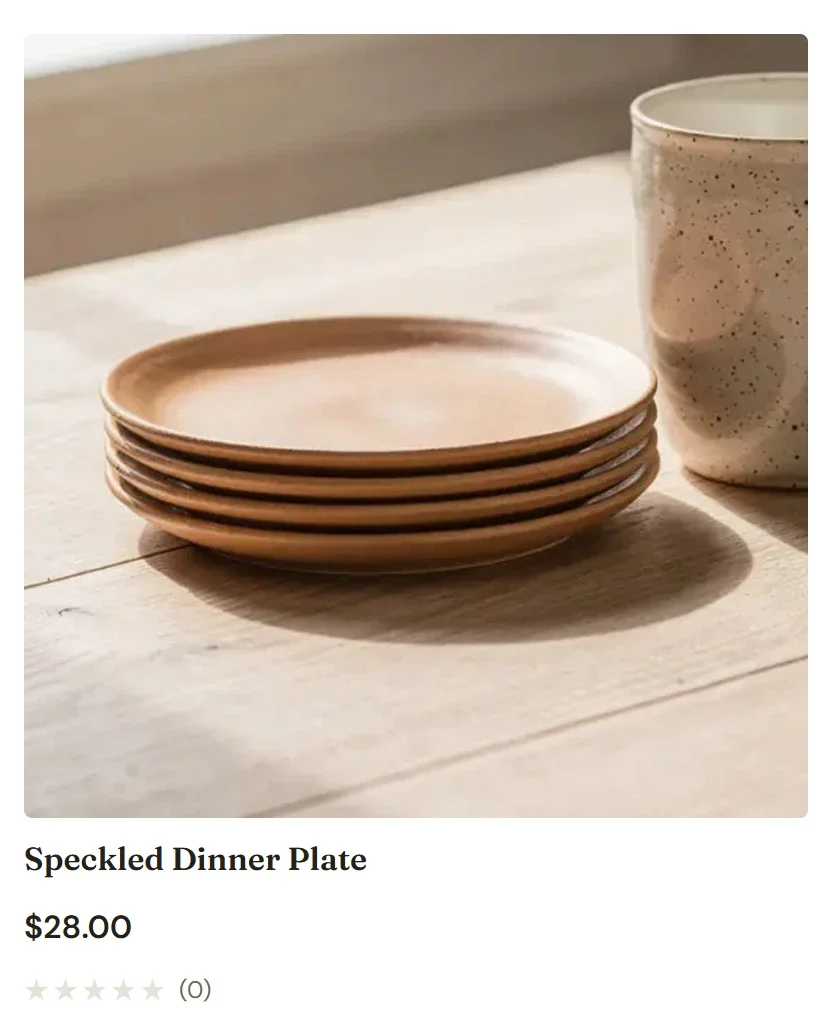
Edit, hide, copy or remove a product
Click a product's row to edit it. The buttons at the end of each row do the following:
- View on your store opens the product's page in a new tab. It appears once your site is published, and not for drafts.
- Move to draft takes a product off sale without deleting it. The product leaves your store right away, and customers who already bought it are not affected. A draft shows a Draft badge, and the same button then reads Publish.
- Duplicate adds a copy named, for example, "Speckled Dinner Plate copy". Rename it and change what is different. The copy has the same status, so a copy of a product on sale is on sale straight away.
- Move to trash removes the product from your shop. You can restore it from the Trash tab until you empty the trash.
To change several products at once, tick them and use Bulk actions. See Search, filter and bulk-edit lists.
Note: A product's web address is made from its name when you first save it. Renaming the product later does not change the address, so links to it keep working.