
Add a contact form
Add a contact form to any page, choose its fields, and receive each message by email, with spam protection set up for you when you publish.
A contact form lets shoppers write to you without leaving your store. Each message arrives in your email inbox, and you answer it from your own email app.
Before you start
- Connect Cloudflare and publish your store at least once. Your form goes live when you publish, because that is when Payly sets up its spam protection. See Connect your Cloudflare account.
- Keep the Forms switch on in Settings > Features. With it off, form blocks are not shown on your store.
Add a form to a page
- In the editor, open the page where you want the form. Your starting design may already have one on its Contact page.
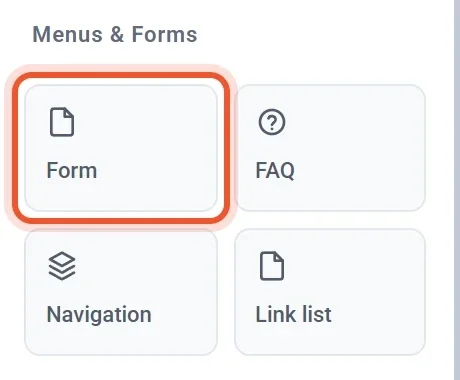
- In the Menus & Forms group of the left panel, drag Form onto an empty spot on the page. See Add, move and resize blocks if you have not placed a block before.
- Click the form on the page to open its settings.
A new form starts with the title Get in touch, three fields (Name, Email and Message) and a Send button.
Choose what the form asks
Open the General group in the settings panel.
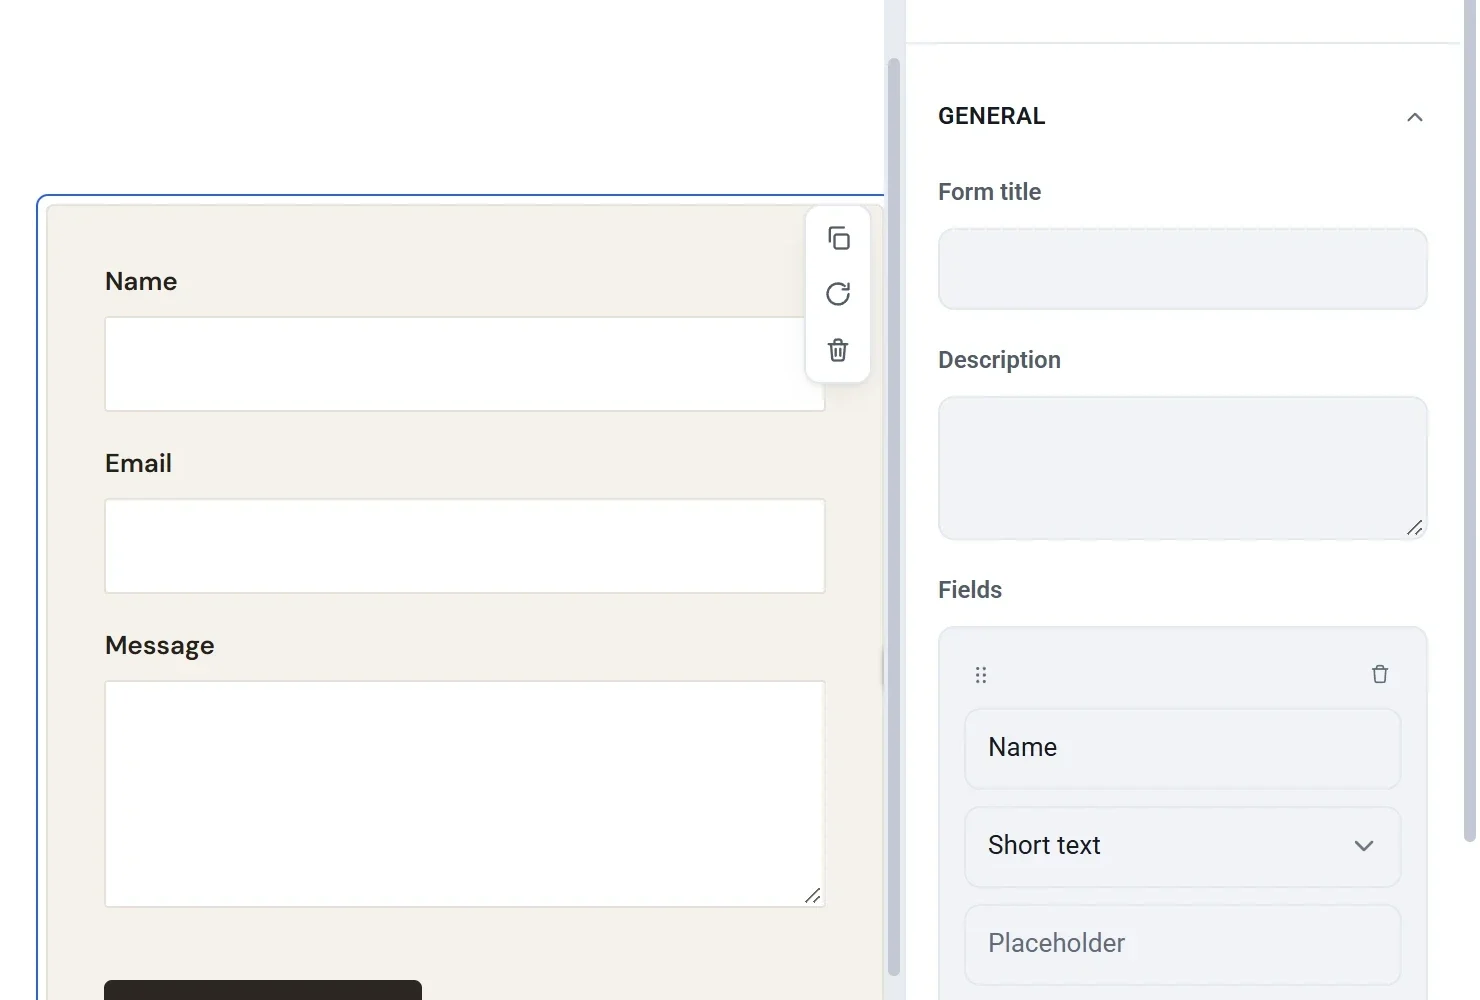
- Enter a Form title and a Description if you want a heading and a short line above the fields. Both are optional.
- Under Fields, change each field's label and type. The types are Short text, Paragraph, Email, Phone, Number, Date, Dropdown, Radio buttons and Checkboxes.
- For a Dropdown, Radio buttons or Checkboxes field, enter the Choices, one per line.
- Tick Required on any field a visitor must fill in.
- Click Add field for another question. Drag the dotted handle on a field to reorder it, or click its trash can to remove it.
- Set the Submit button text and the Message after submit, which visitors see once their message is sent.
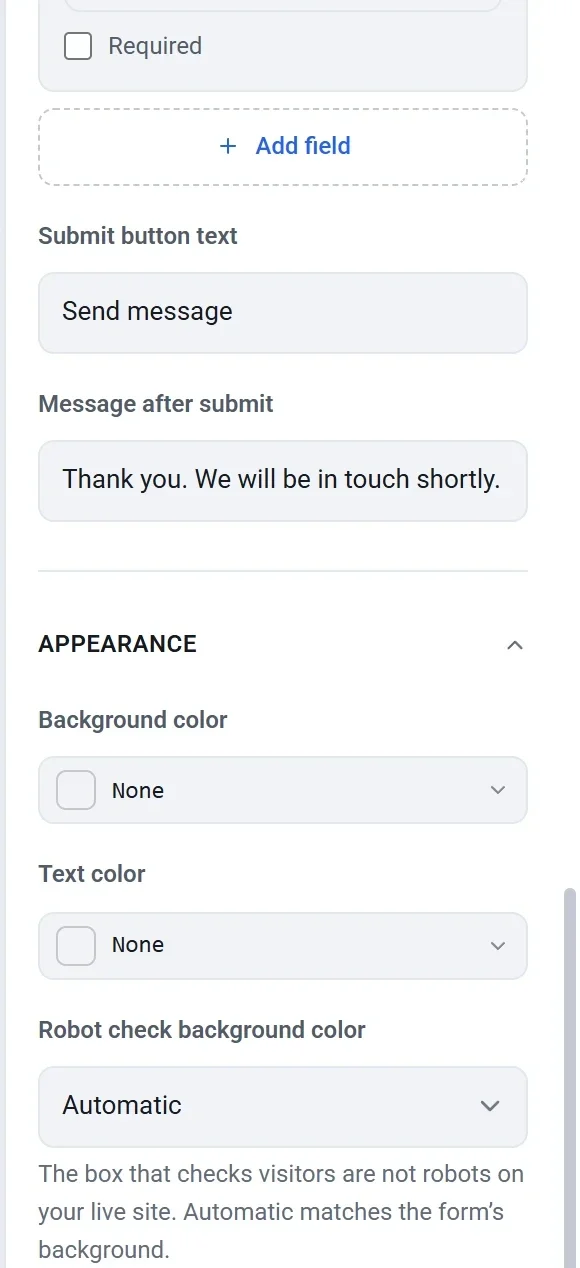
Under Appearance, pick a Background color and Text color for the form. Robot check background color sets the color behind the spam check box on your live store. Leave it on Automatic to match the form.
Tip: Keep an Email field. Payly uses the address a visitor types as the reply address, so without one you receive the message but cannot answer it.
Publish and test it
- Click Publish. The first time a store with a form is published, Payly creates a spam check for it in your own Cloudflare account. You do nothing.
- Open your published store, go to the page with the form, and send yourself a test message.
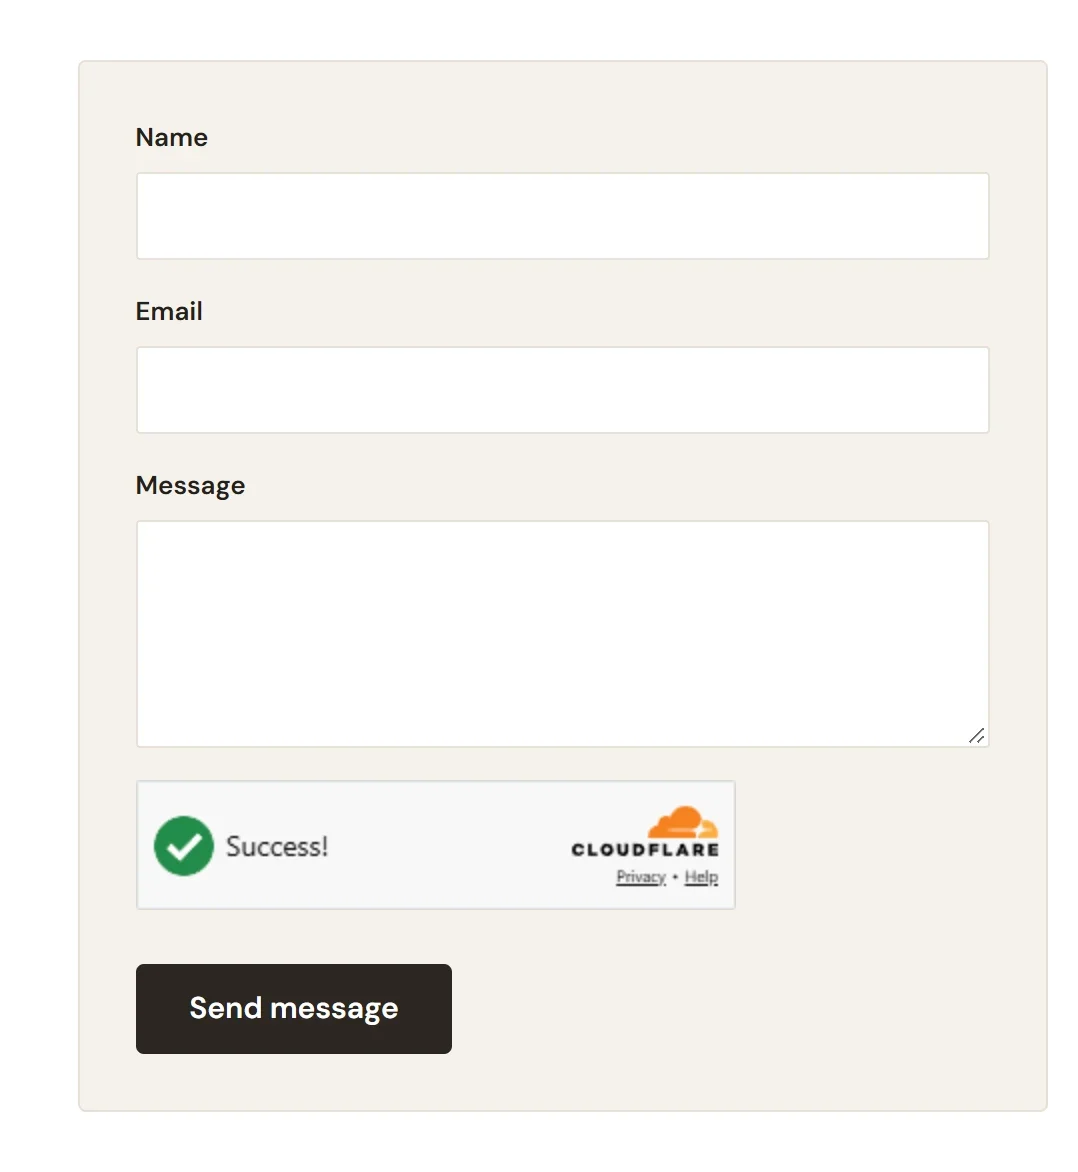
The small Cloudflare box above the button checks that the sender is a person. Most visitors pass it on their own. In the editor you see only the form, not the check. If the check could not be set up, the form on your live store says it is not accepting messages, and publishing again tries to set it up again. See How contact forms block spam.
Where the messages go
Each message is emailed to the address on your Payly account, with the visitor's answers listed in the email. Click Reply in your email app and your answer goes straight to the visitor, from your own address. Payly is not part of the conversation.
If you would rather read messages in Payly, go to Settings > Emails and turn off New contact form response. A Form responses screen then appears in your site dashboard menu, and new messages are kept there instead of being emailed.
