How Payly works
Payly is a free website builder for online stores. Your store is hosted in your own Cloudflare account, and customers pay your own Stripe or PayPal account.
A Payly store has three parts: the place where you build it, the place where it is hosted, and the place where your customers pay. This article explains what each part does, what it costs and what you need to get started, so you can decide whether Payly suits you.
The parts at a glance
Each part is a separate service, and you hold your own account with each one.
| Service | What it does | What you need |
|---|---|---|
| Payly | Where you build and run your store: the editor, products, orders, customers, discounts and settings. | A free Payly account |
| Cloudflare | Where your store is hosted. Payly deploys your store into your account when you publish, and Cloudflare serves it to your customers. | A free Cloudflare account |
| Stripe and PayPal | Where your customers pay, and where your money goes. | A Stripe account, a PayPal account, or both |
Build your store in Payly
You start from a ready-made design and change every word, color and photo in the visual editor. You add products, set up shipping and tax, and follow your orders and customers from your site dashboard. Until you publish, your site is a draft that customers cannot see. To see the first steps, read Create your first site.
Hosting in your own Cloudflare account
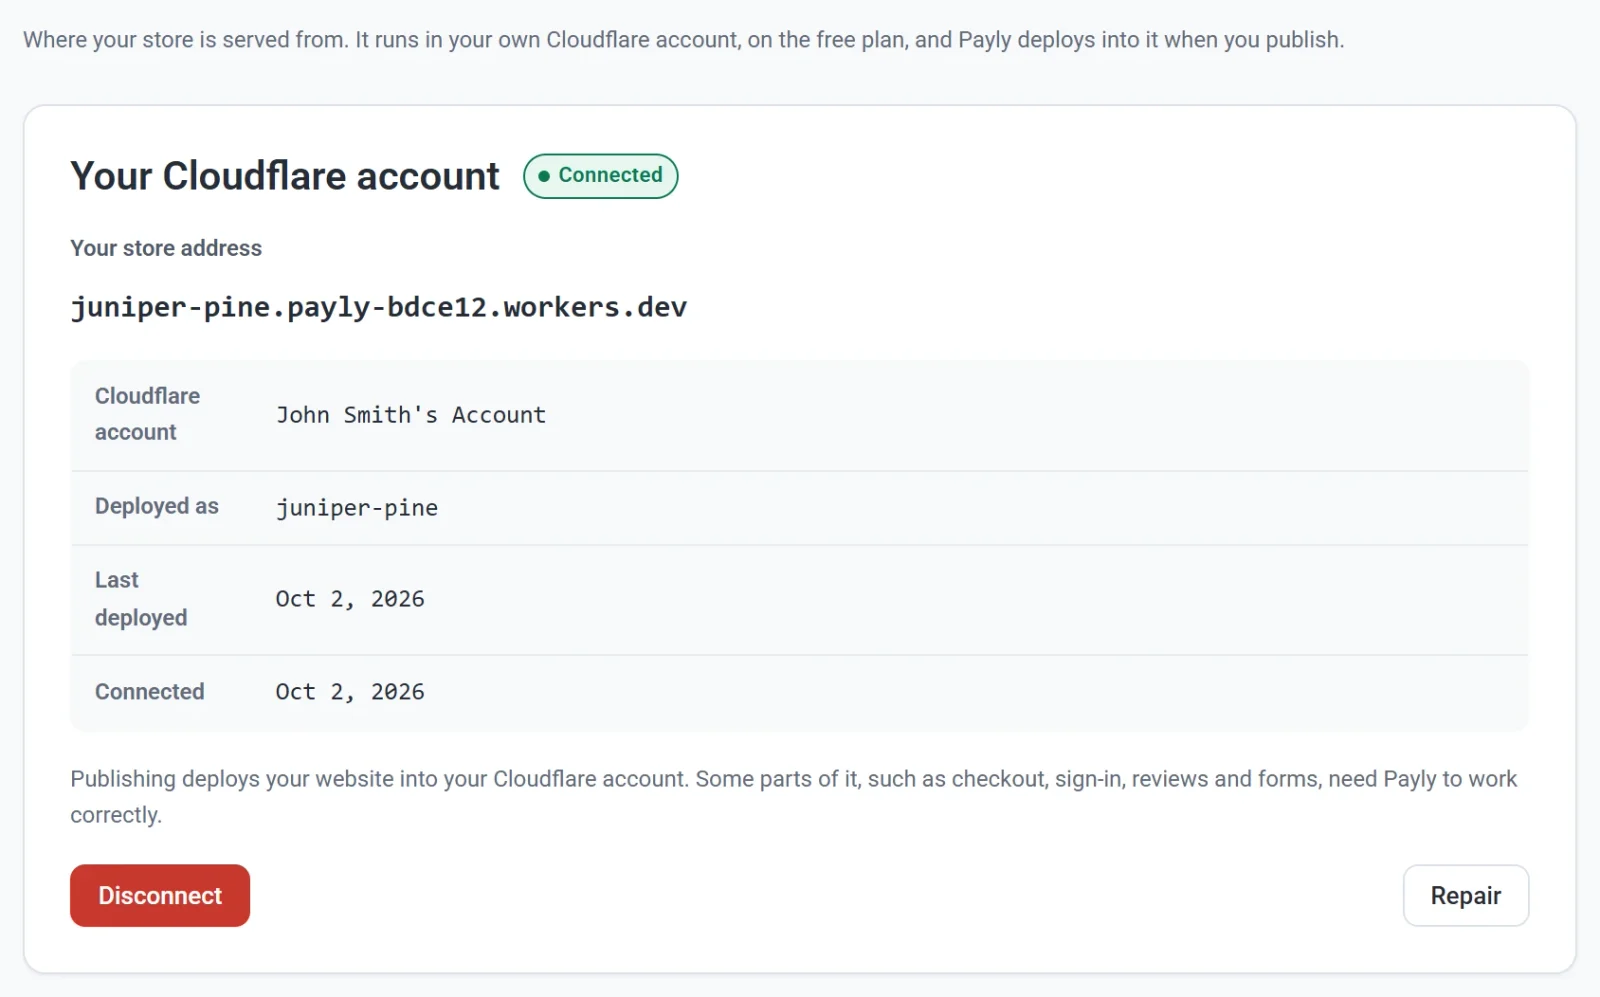
Cloudflare is the service that hosts your store. Payly deploys your store into your own free Cloudflare account, so you own everything that runs there.
- You connect Cloudflare from Settings > Hosting, or when Payly asks the first time you publish or upload an image. Cloudflare's own sign-in screen opens, and you return to Payly when you finish. See Connect your Cloudflare account.
- If you do not have a Cloudflare account yet, you can create one on the way. It is free.
- Your store gets a free web address that ends in
workers.dev. You can connect a domain of your own at any time. See Connect a custom domain. - Some parts of your store, such as checkout, sign-in, reviews and forms, need Payly to work correctly.
- If you disconnect Cloudflare, your store keeps running, but publishing, product updates and image uploads stop until you reconnect.
To learn more about this setup, read Why your store runs on your own Cloudflare account.
Payments go straight to you
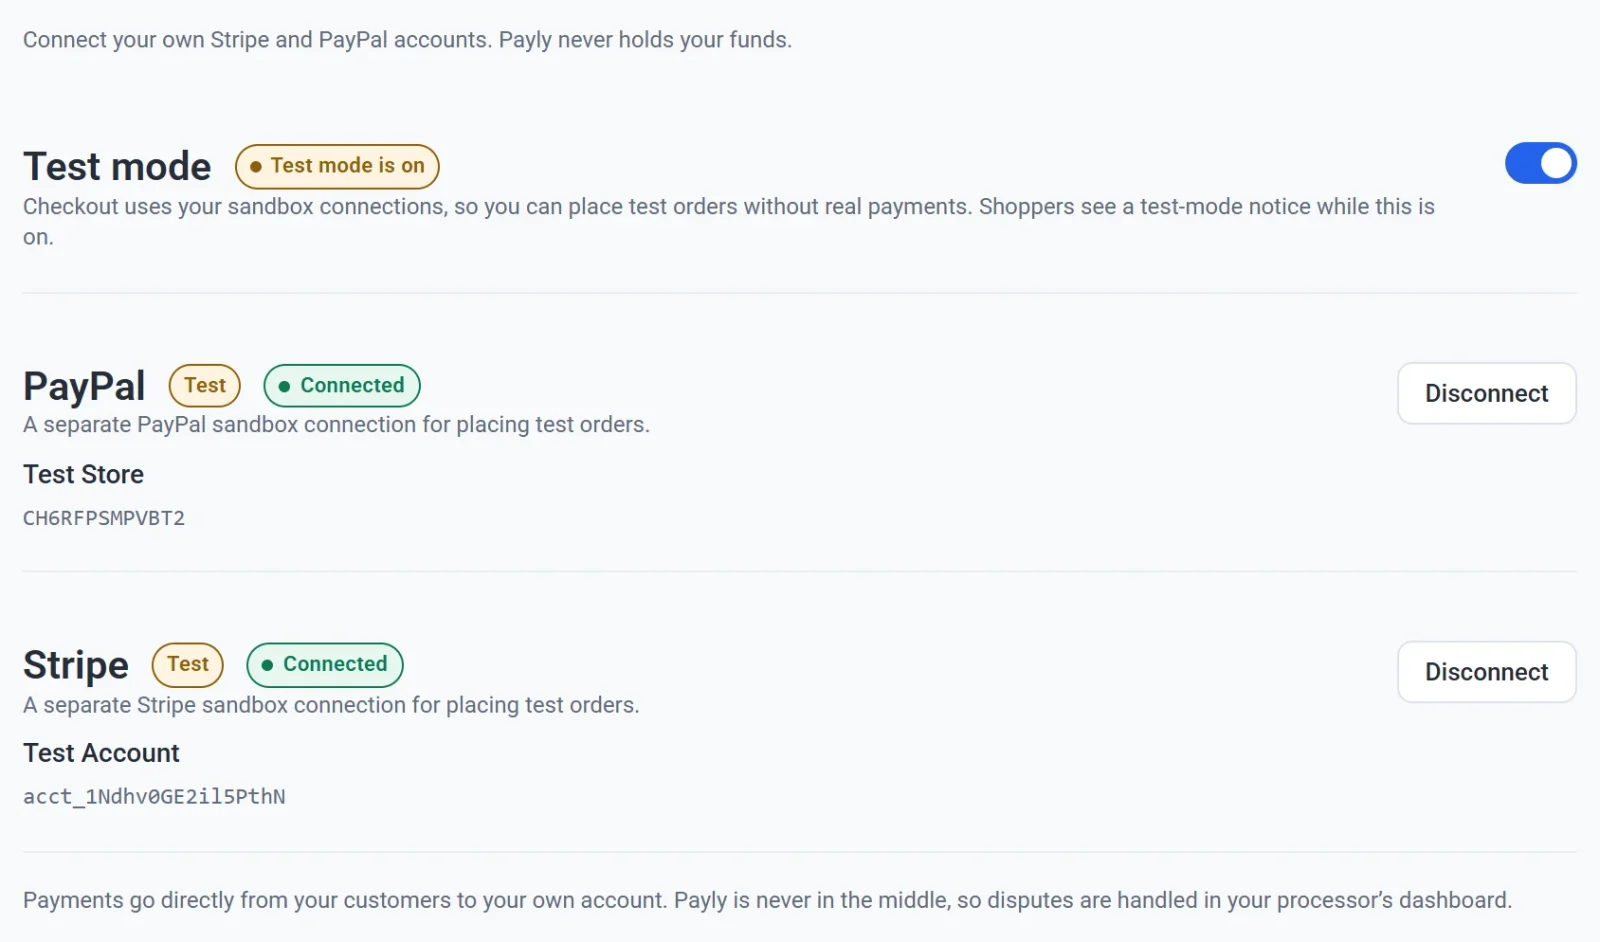
You connect your own Stripe account, your own PayPal account, or both, in Settings > Payments. Your customers pay at your store's checkout, and the money goes directly to your account. Payly is never in the middle and never holds your funds.
Payouts and disputes are handled in your own Stripe or PayPal account. You can issue a refund from the order in Payly, and it goes back through your own account. Test mode lets you place practice orders without real payments before you go live. See When and how you get paid and Take test payments with test mode.
What it costs
Payly is free. There is no monthly fee, no transaction fee and no commission on your sales.
You pay only for things outside Payly:
- Payment processing. Stripe and PayPal charge their own standard fees on each payment. Payly does not add to them.
- A domain name, if you want an address of your own. Connecting a domain to your store is free, but you buy the name from a domain registrar.
Your store runs on Cloudflare's free plan, which has a daily usage limit. If your store reaches that limit in a day, customers cannot check out until it resets. You can avoid that by adding a paid plan to your own Cloudflare account. See Server usage and Cloudflare limits and What does Payly cost?.
What you need to get started
- A Payly account. Signing up is free and does not ask for a card. See Create your Payly account.
- A free Cloudflare account. You need it to publish your store and to upload your own images. You can start building without it.
- A Stripe or PayPal account. You need at least one to accept payments. See Connect Stripe and Connect PayPal.
- A domain name (optional). Your store works at its free address, so you can add a domain later.
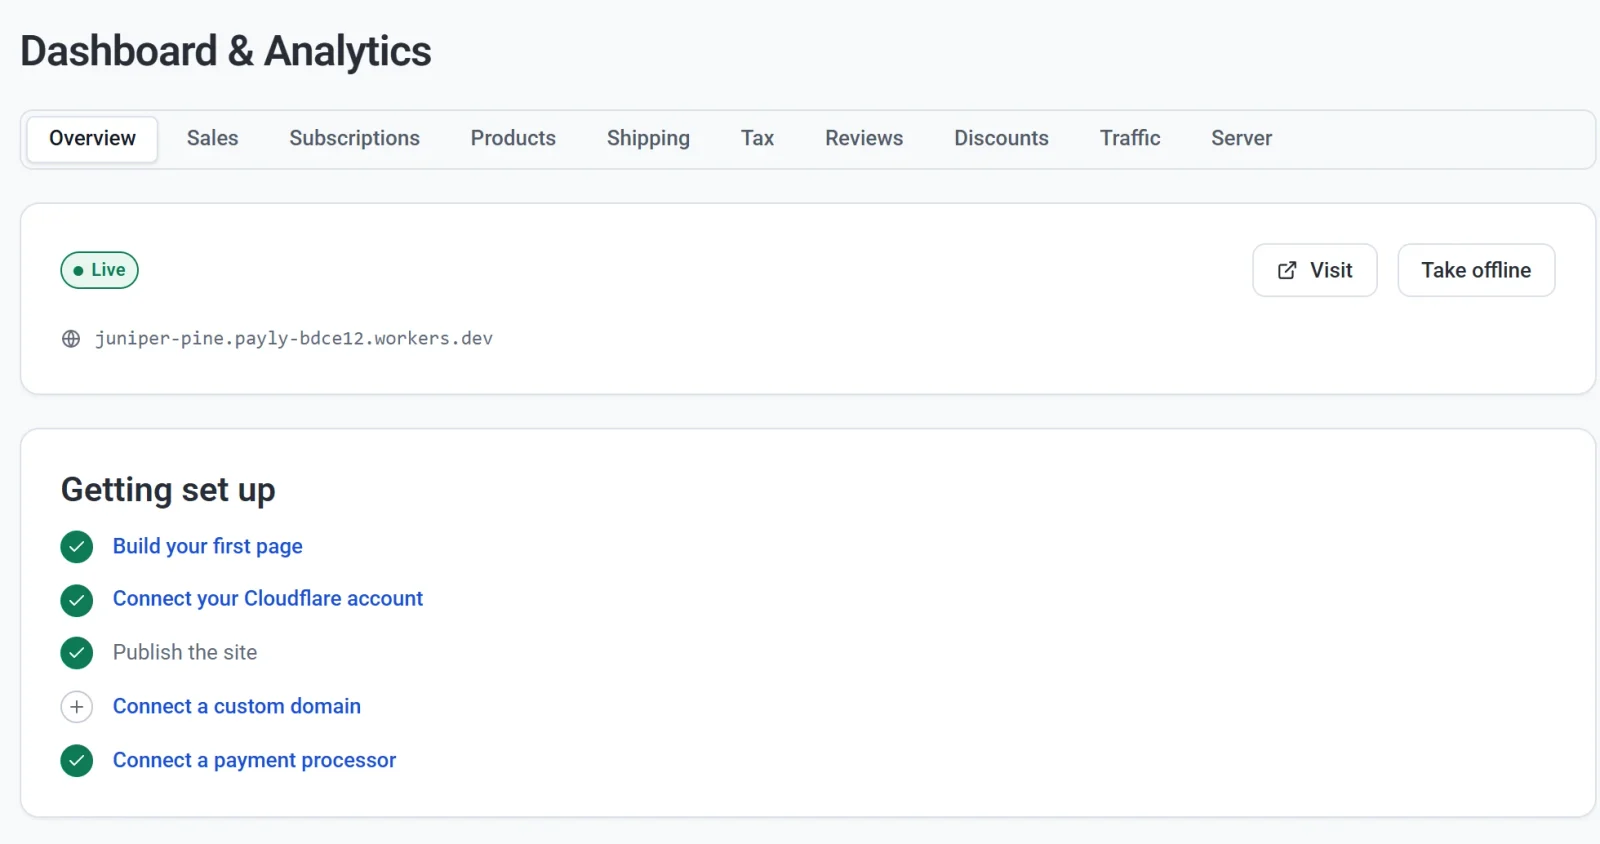
Your site dashboard keeps track of these steps for you. The Getting set up checklist, on the Overview tab of Dashboard & Analytics, shows what is done and what is left to do. For everything to check before you go live, see Your launch checklist.