
Create your first site
Create a site in Payly: name your store, choose a store handle and a design, and open the editor with a ready-made store to customize.
A site is your store in Payly: its pages, products, orders and settings. Creating one takes a few short steps, and nothing is public until you publish it.
Before you start
- You need a Payly account. See Create your Payly account.
- You do not need Cloudflare, Stripe or PayPal yet. You connect them later, when you are ready to publish and take payments.
Create the site
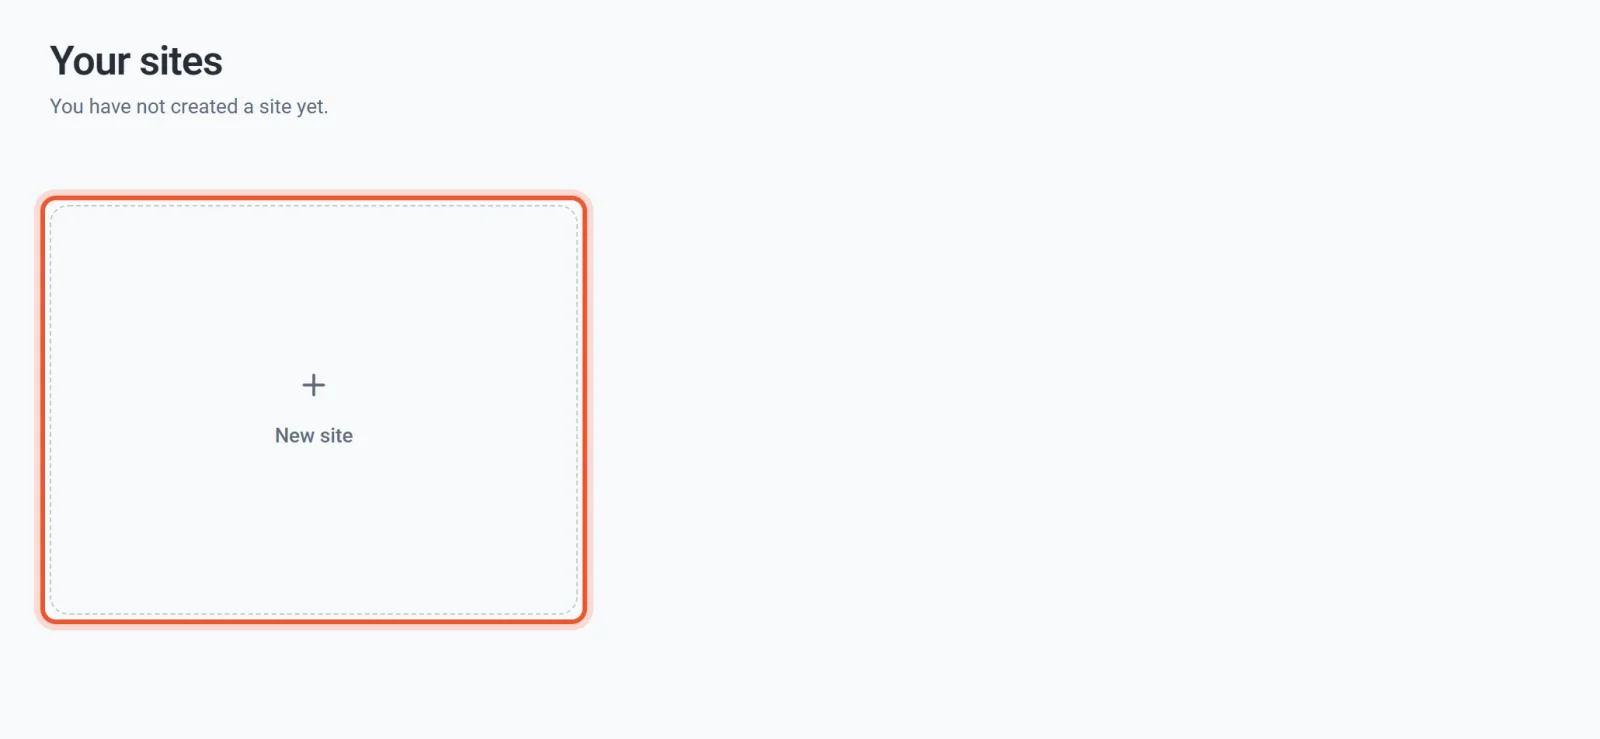
- Sign in to Payly. You land on the Your sites screen.
- Click New site.
- Enter the name of your store in Site name. You can change it later.
- Look at Store handle. Payly suggests one based on your name, and a green message confirms that it is available. You can edit it, but read the section about the store handle below first.
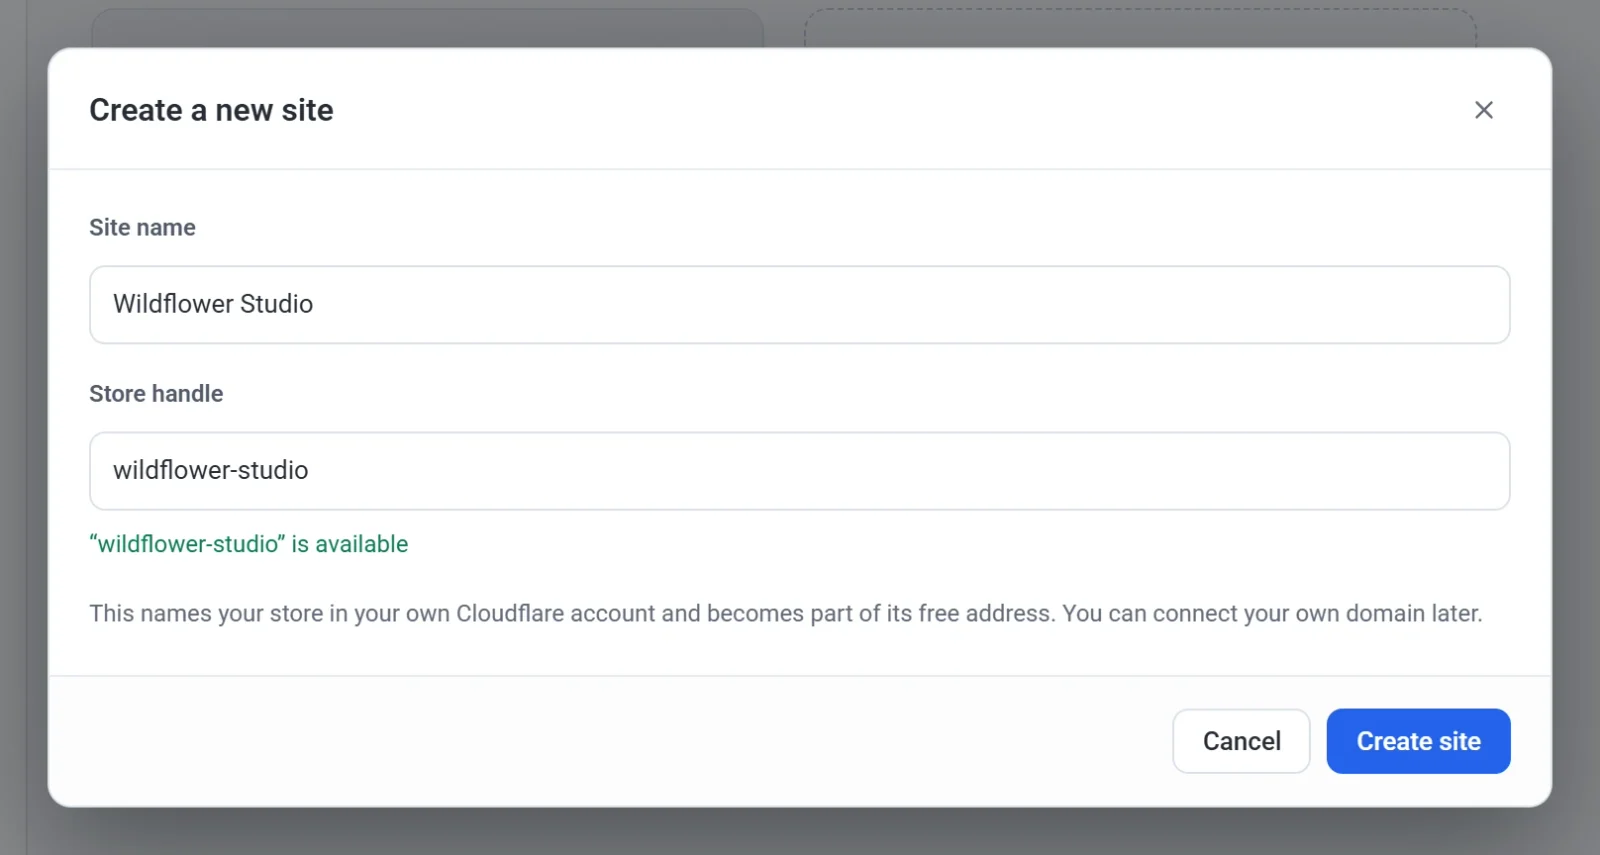
- Click Create site.
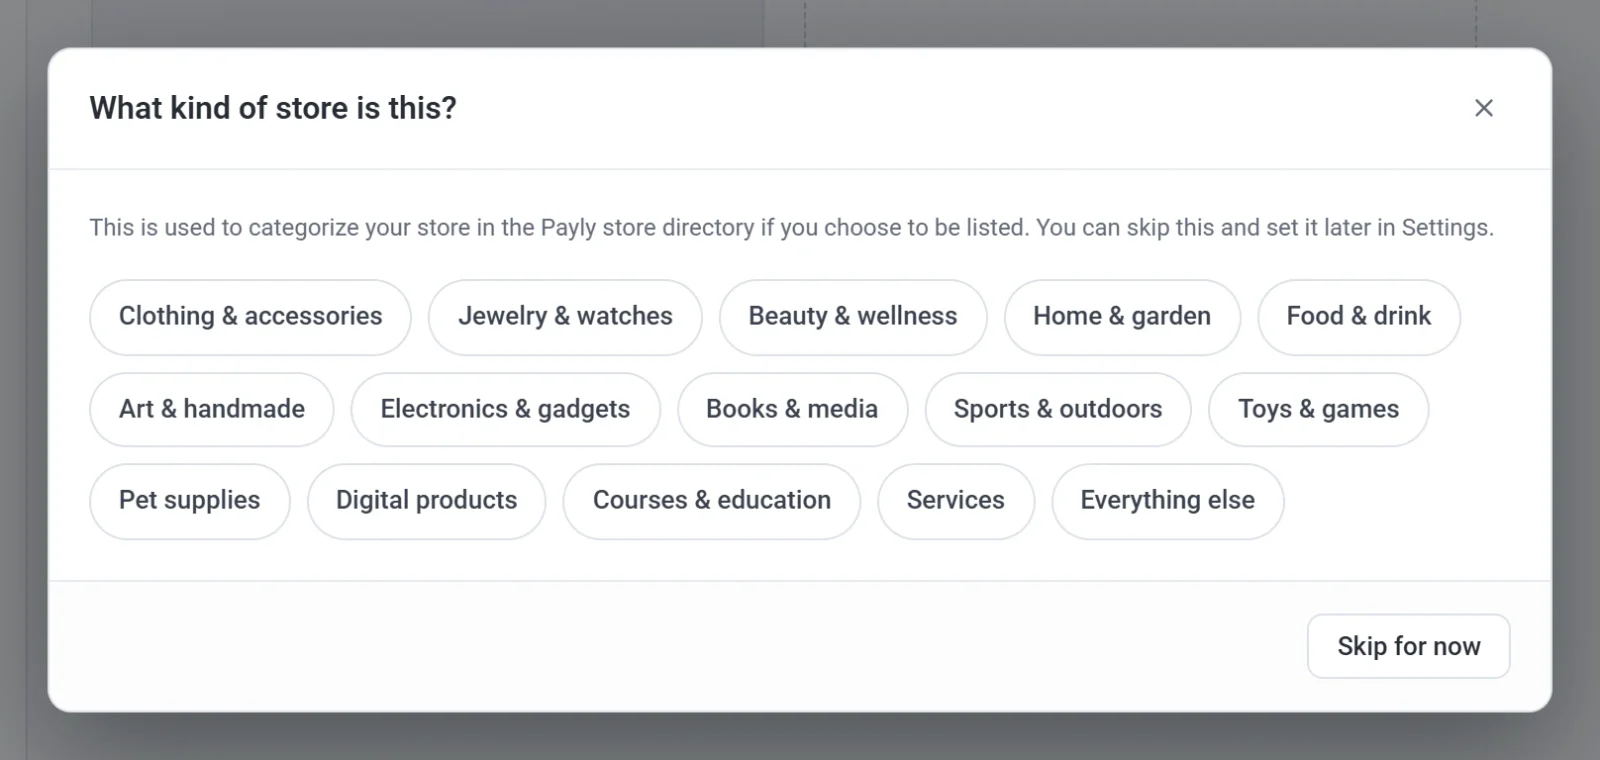
- Choose the kind of store you run. Click the category that fits, or click Skip for now. Payly only uses this to file your store in the Payly store directory if you choose to be listed. You can set it later in Settings.
- Click the design closest to the store you have in mind. You can change every word, color and photo later.
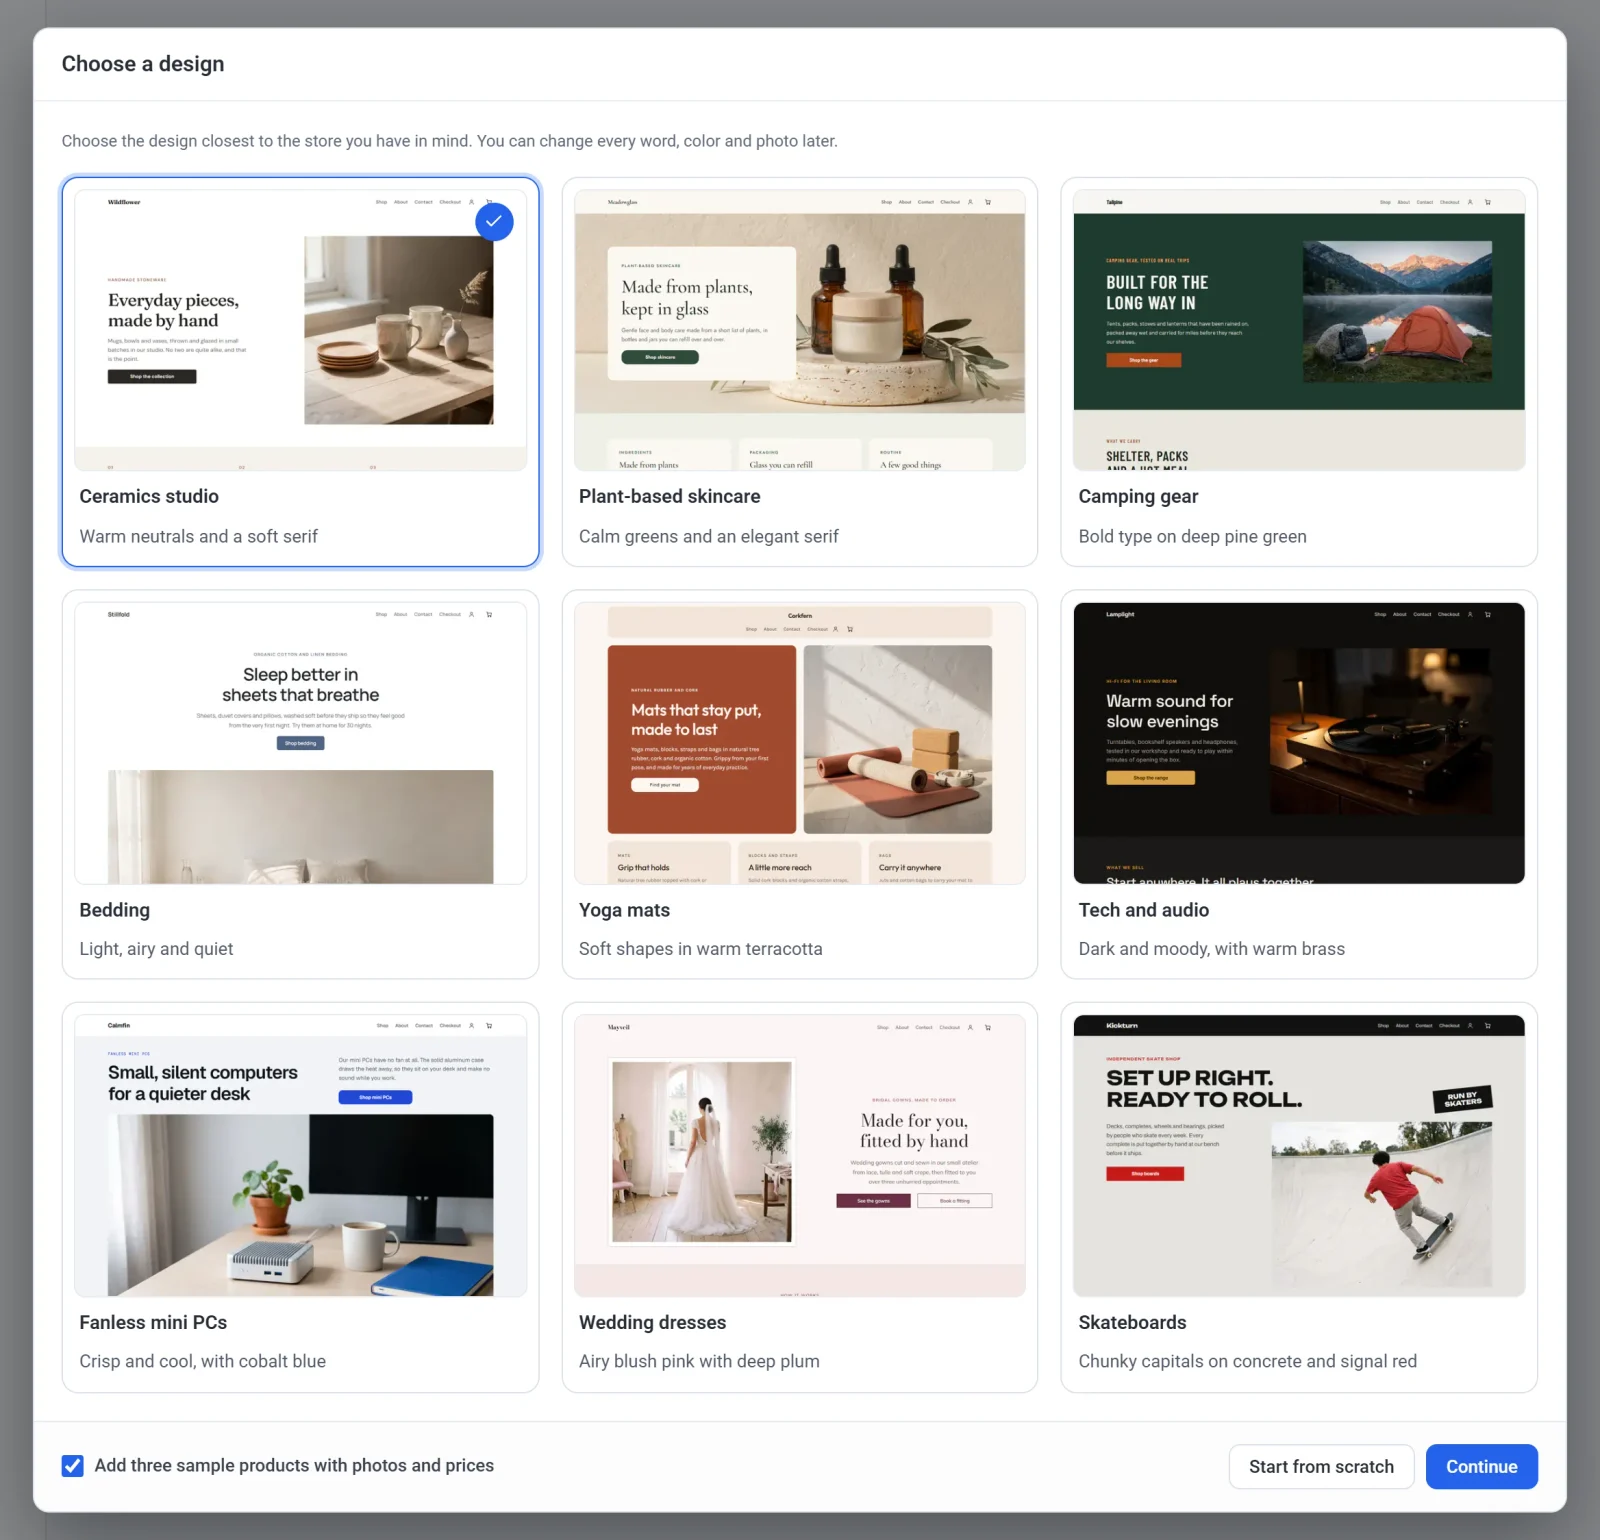
- Leave Add three sample products with photos and prices ticked to start with example products you can edit, or untick it to start with none.
- Click Continue. Payly saves your choices and opens the editor with your new site.
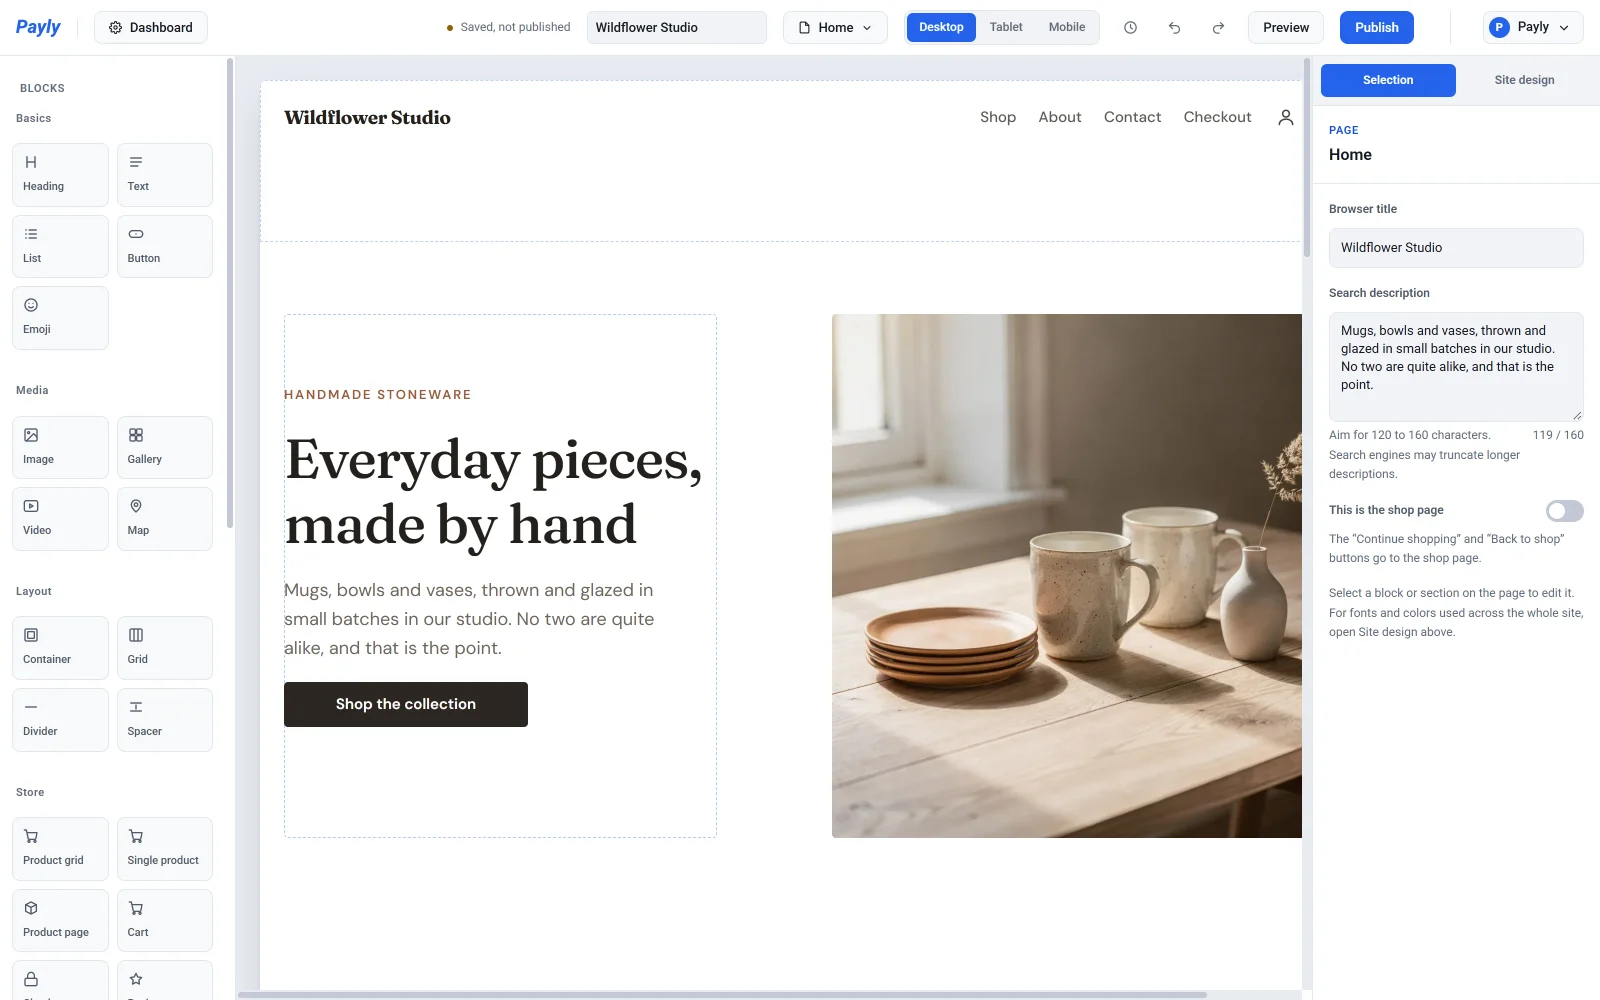
The Choose a design dialog cannot be closed. If you would rather build everything yourself, click Start from scratch instead of Continue. The editor then opens with a plain starting page.
What your new site contains
When you choose a design, your site starts with ready-made pages: Home, Shop, About, Contact, Cart, Checkout, Privacy policy and Terms. A site started from scratch has the same pages except Shop. If you kept the sample products, you find them under Products in your site dashboard.
About the store handle
The store handle is a short name for your store. It does two jobs:
- It names your store inside your own Cloudflare account.
- It becomes part of your store's free web address, which ends in
workers.dev. For example, a store with the handlejuniper-pinehas the addressjuniper-pine.payly-bdce12.workers.dev.
A handle follows these rules:
- It has 3 to 40 characters: lowercase letters, numbers and hyphens, starting and ending with a letter or number.
- Payly turns capital letters into lowercase and removes other symbols as you type.
- A few common words, such as
shopandstore, are reserved. A handle only has to be unique among your own sites, so another merchant can use the same one.
If a handle is not allowed, a red message under the field tells you why. Your site name is separate from the handle, and you can change it at any time in Settings > General.
Important: Choose your handle with care. After you connect Cloudflare, your store is deployed under this name and the handle is locked. Until then, you can change it in Settings > General.
What to do next
- Learn your way around in The editor at a glance.
- Replace the sample products with your own in Add a product.
- Follow Your launch checklist when you are ready to go live.
To create another site later, click All Sites in your site dashboard, then click New site.